Most Popular in Category

By Timothy Woods 1 year ago
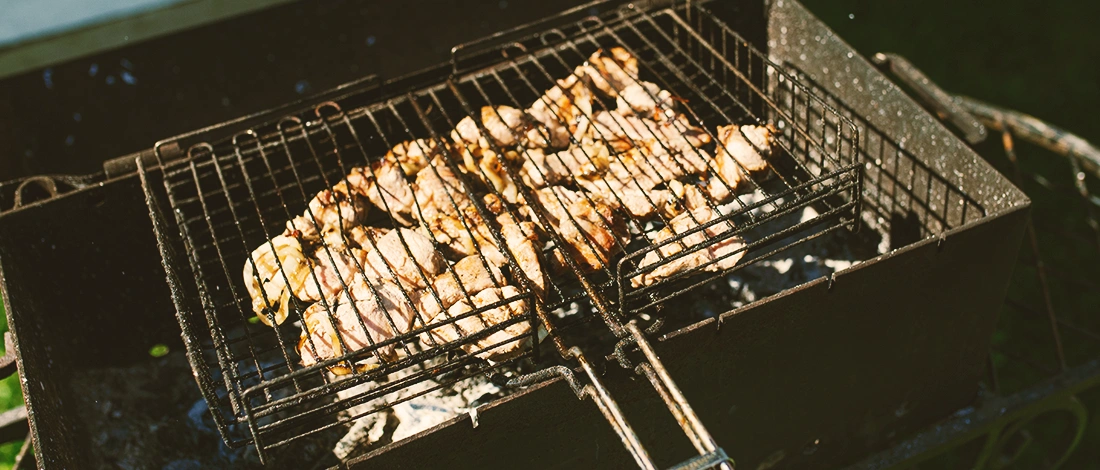
How to Control Temperature in a SmokerA Step-by-Step Guide
I love smoked meat. Smoking is like a small revolution in BBQ, where you can cook almost everything on the grill and create delicious meals.
At Carnivore Style, we understand that it’s not easy. Exhaust vent, top vent, different smokers, adjusting the lid, hot air, varying temperatures, long hours—it's a school you need to pass to become a master in grilling food.
To get the best results,... Read more >

By Timothy Woods 2 months ago
What’s The Best Way To Clean A Flat Top Grill?8 Proven Cleaning Methods