Reverse Sear Steak: How to Nail a Thick-Cut Ribeye
The Problem with Thick Cuts: How to Perfectly Cook a Ribeye
Thick-cut ribeyes are a trap. Everything that makes a thick ribeye worth buying (the marbling, the heft, the promise of a perfect bite) also makes it incredibly difficult to cook evenly. Keep it on high heat until the center is done, and the exterior dries out. Pull it early to save the edges, and the middle stays raw. Most home cooks don’t realize the deck is stacked against them before the steak even hits the pan.
But what if the problem isn’t skill at all? What if it’s the order you’re doing things? This post breaks down a technique that sidesteps the problem entirely and makes thick ribeyes one of the easiest steaks you’ll cook.
Why the Reverse Sear Steak Method Exists
For decades, the standard advice was to sear first, then finish in the oven. The logic seemed sound: get your crust established early, then gently bring the interior up to temperature. Restaurants do it this way because it’s fast and predictable when you’re cooking dozens of steaks per service.
But speed isn’t your concern at home. Precision is. The reverse sear steak approach does exactly what the name suggests: you start low and slow, bringing the meat up to temperature gradually in a low oven, then finish with a blazing hot sear at the very end.
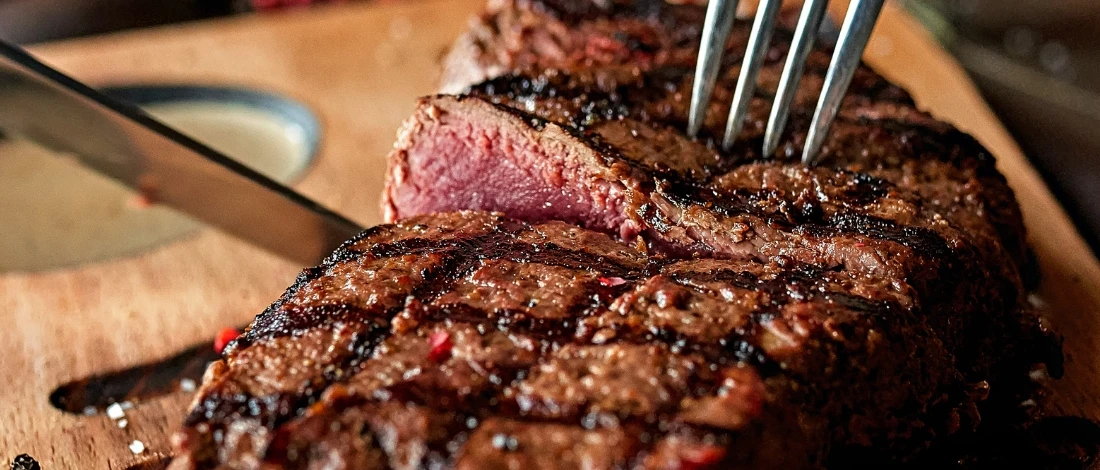
And the difference shows up the moment you slice in: edge-to-edge pink, from crust to center. That band of overcooked gray meat that plagues traditionally cooked steaks? Gone. You’re left with a ribeye that looks like it came out of a steakhouse kitchen, except better, because you had the luxury of time they don’t.
The Science Behind Going Low Then High
When you cook a steak in a 275°F oven, something interesting happens. The gentle, consistent heat gives you tremendous control over the internal temperature. There’s no guessing, no hoping you pulled it at the right moment. You can check the temp every few minutes without consequence, and the meat rises slowly enough that you’ll never accidentally overshoot your target by twenty degrees.
There’s another important benefit: cooking below 300°F allows enzymes called cathepsins to remain active longer as the meat heats. These enzymes break down muscle proteins and connective tissue, and they work until the internal temperature climbs past 122°F. If you rush past that window with high heat, you’ll miss out on that extra tenderization.
Then there’s the surface moisture issue. A wet steak won’t sear properly. It’ll steam instead, and steam doesn’t create that gorgeous Maillard crust you’re after. Time in the oven dries out the exterior, so when that ribeye finally hits a ripping hot pan, you get a hard sizzle right away. The crust starts forming the second it makes contact.
Choosing the Right Ribeye
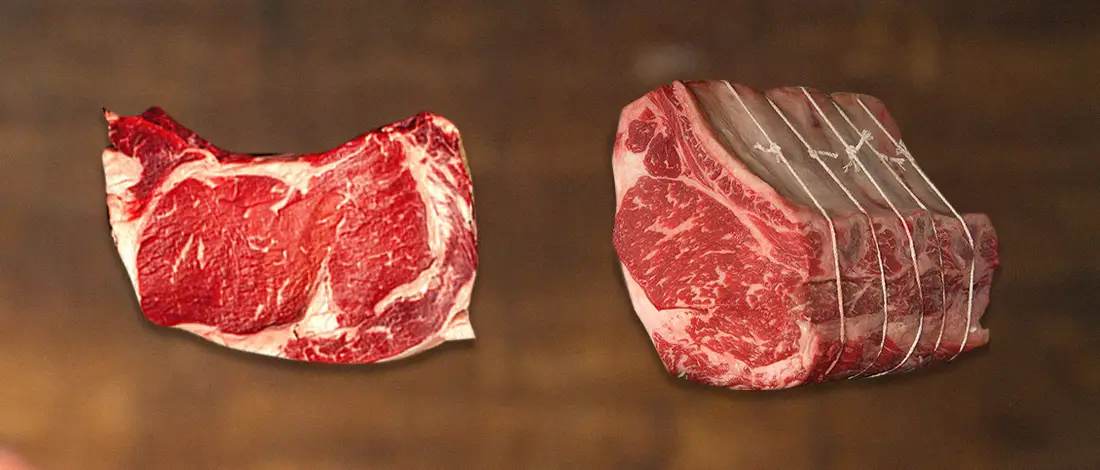
Thickness matters more than weight. You want at least an inch and a half, ideally two inches. Anything thinner cooks too quickly for this method to make a difference.
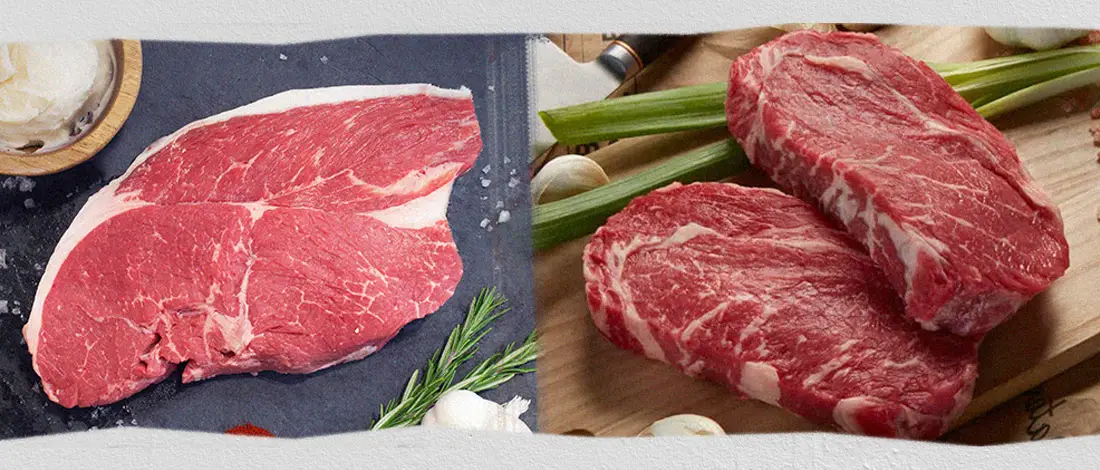
Look for good marbling throughout the meat. Those white streaks of intramuscular fat will render during cooking, basting the steak from the inside out. Prime grade is ideal if your budget allows, but Choice works beautifully too. Skip Select if you can. The lack of marbling means less flavor and a drier finished product.
Check for even thickness across the entire steak. A ribeye that’s two inches on one end and an inch on the other will cook unevenly, no matter what method you use. If you’re buying from a butcher counter, ask them to cut you something uniform.
How to Reverse Sear a Ribeye, Step by Step
This method doesn’t require special equipment or advanced skills. A rimmed baking sheet, a wire rack, a cast-iron skillet, and an instant-read thermometer are all you need.
- Prep the steak. Pull your ribeye from the fridge and pat it completely dry with paper towels. Give it a heavy coat of kosher salt and freshly ground black pepper on all sides. Some people like to let it sit uncovered in the fridge overnight after seasoning, which dries the surface even further and seasons the meat more deeply. If you have the time, it’s worth doing.
- Set up the oven. Set your oven to 275°F and place a wire rack over a rimmed baking sheet. Put the seasoned steak on the rack and slide it into the oven. This setup allows air to circulate around the entire steak, so you don’t end up with a soggy bottom.
- Slow cook until nearly done. For a two-inch ribeye, expect somewhere between 20 and 40 minutes, depending on your desired doneness. Use an instant-read thermometer and start checking around the 20-minute mark. You’re looking for an internal temperature about 10 to 15 degrees below your final target, since the sear will push it up the rest of the way. For medium-rare, pull the steak when it hits 115°F to 120°F. Medium, aim for 125°F to 130°F. Let the steak rest while you get your pan ready.
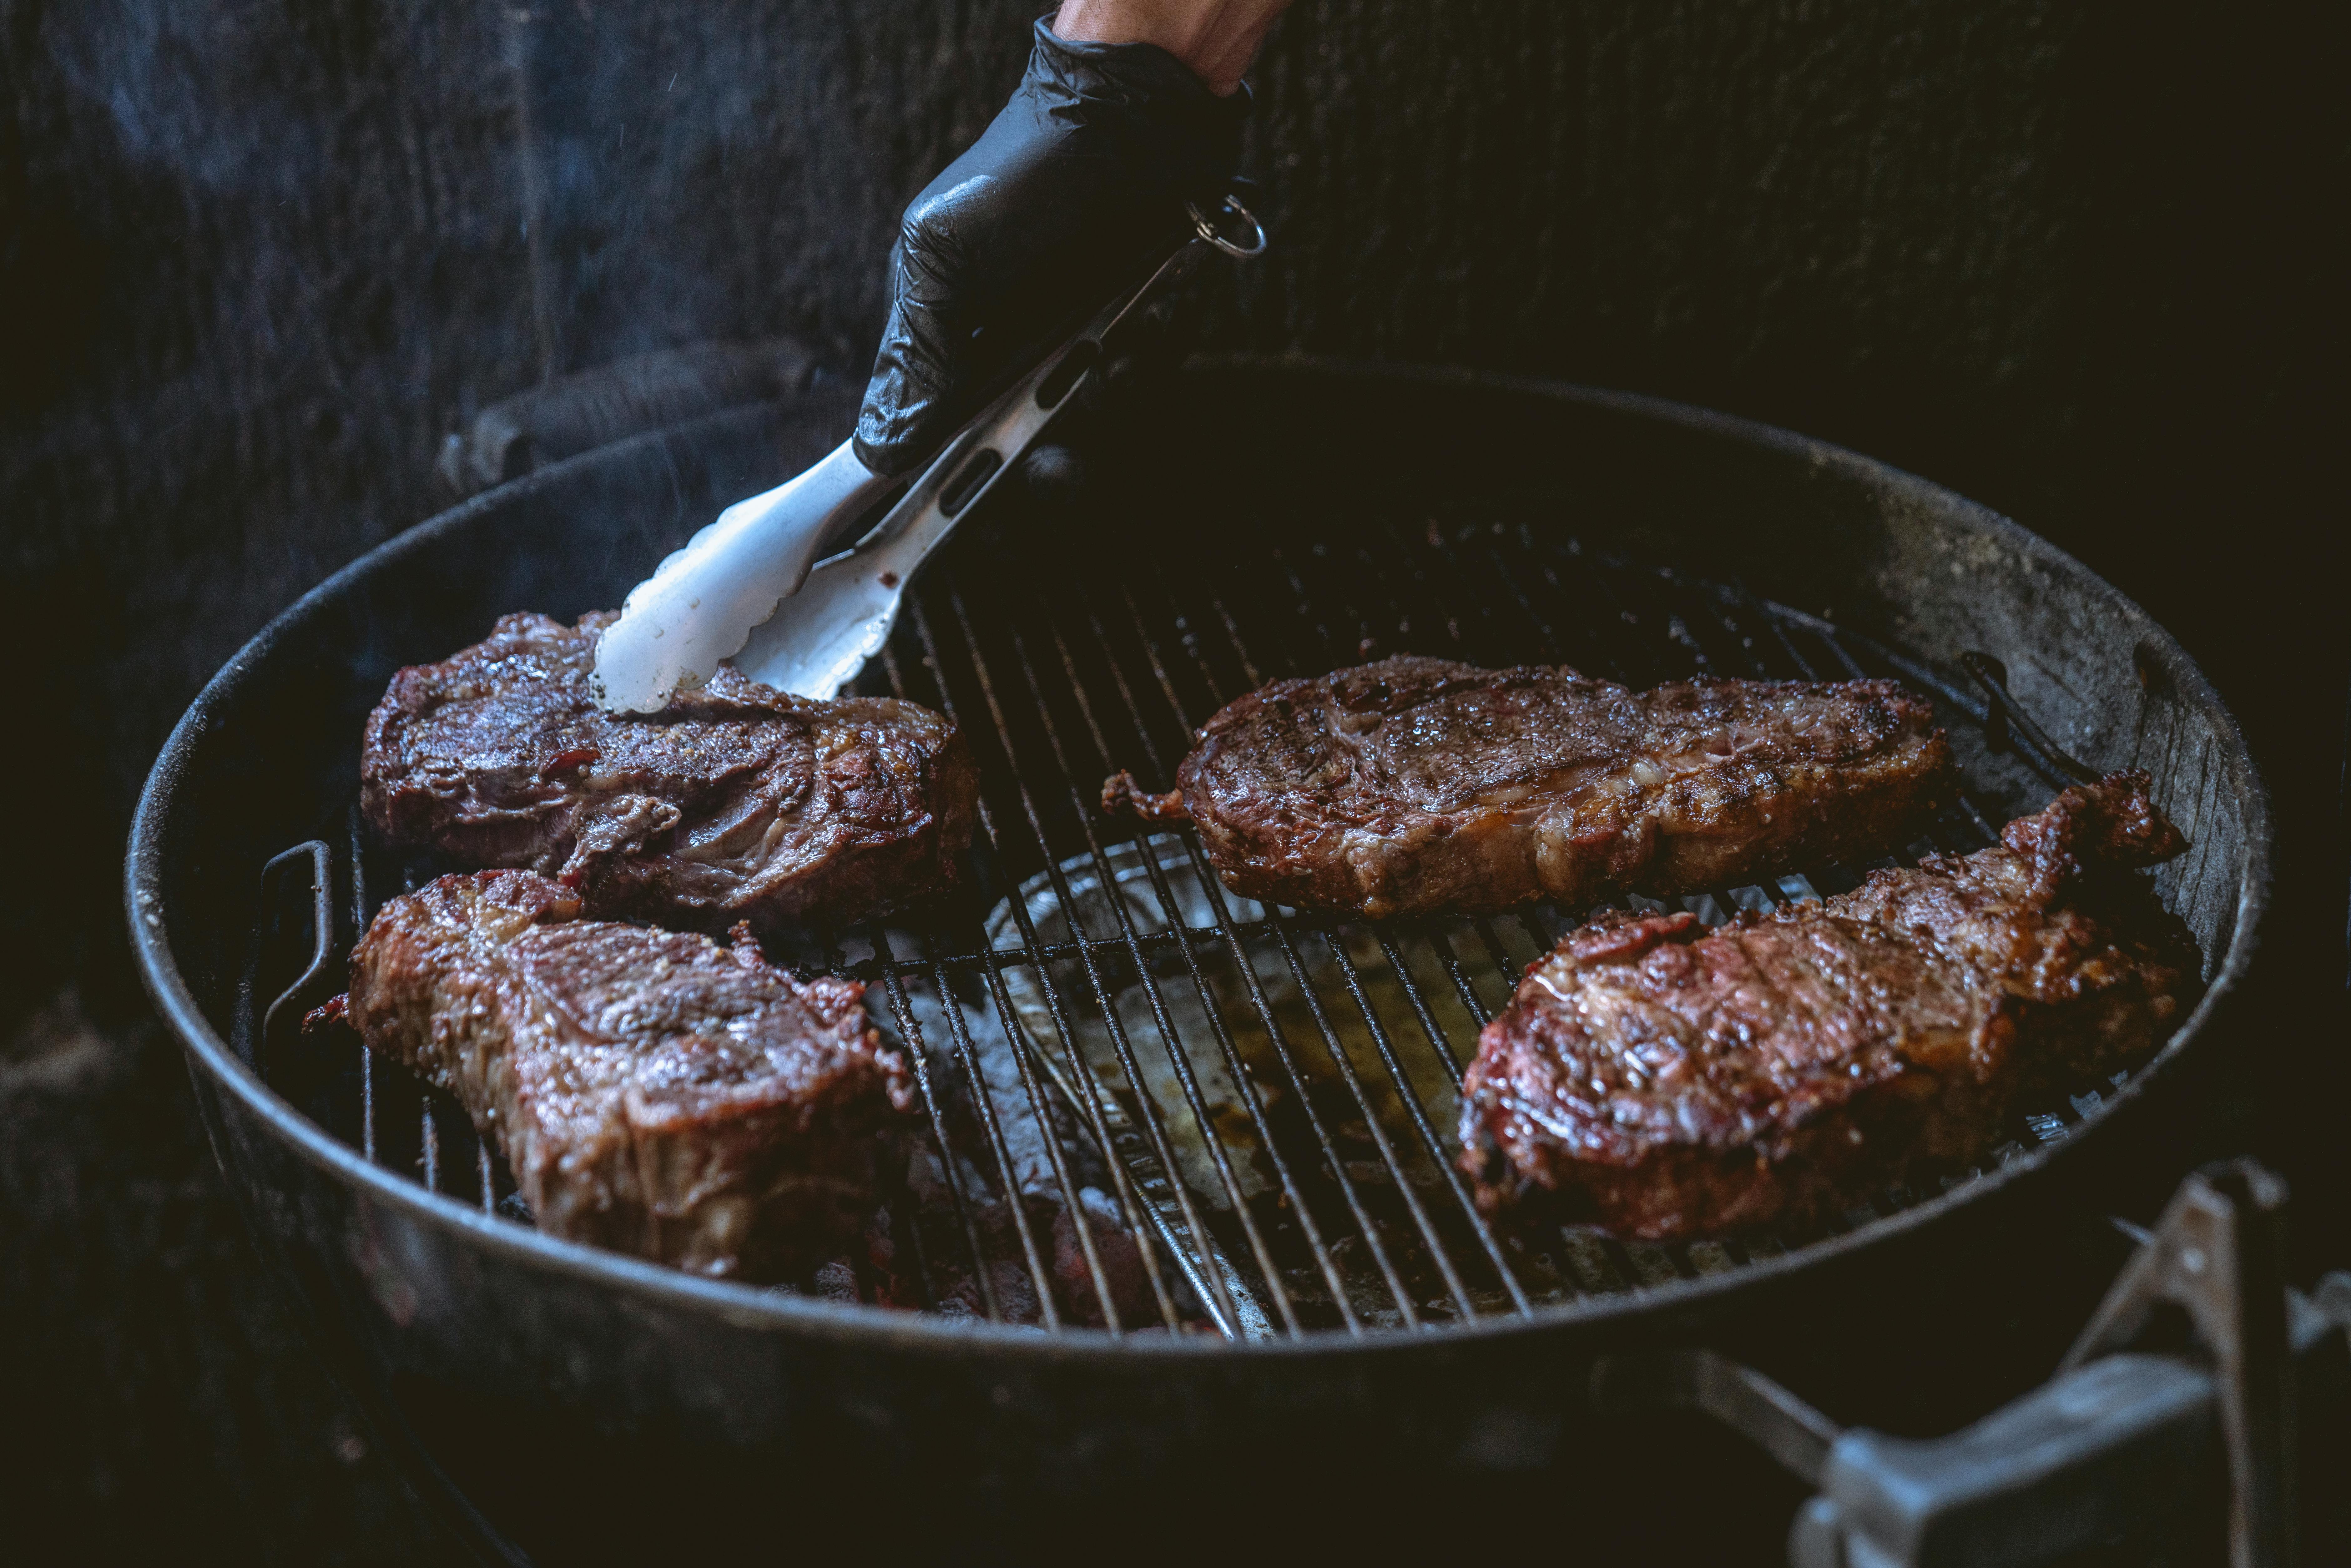
- Get your pan ripping hot. While the steak rests briefly, heat a cast-iron skillet over high heat until it just starts to smoke. Use an oil with a high smoke point, like avocado or vegetable.
- Sear hard and fast. Lay the steak in the pan and don’t touch it for 45 to 60 seconds. Flip and repeat. If you want to get fancy, add a tablespoon of butter, a few crushed garlic cloves, and some fresh thyme during the last 30 seconds. Tilt the pan and spoon that butter over the top of the steak repeatedly.
- Rest briefly and serve. Pull the ribeye when the internal temperature hits your target. For medium-rare, that’s 130°F to 135°F. Unlike traditional cooking methods, you don’t need a long rest after reverse searing. The slow cook already allowed the muscle fibers to relax. A few minutes on a cutting board while you plate your sides is enough.
The First Cut and Beyond
The color will surprise you. Cut into a properly reverse-seared ribeye, and there it is: consistent pink from edge to edge, with just a thin line of beautifully browned crust on the outside. That gray band of overcooked meat that shows up with traditional searing? You won’t find it.
The texture is different too. Tender throughout, with none of the chewy, dried-out sections that come from uneven cooking. Every bite tastes the same, which is exactly what you want from an expensive piece of beef.
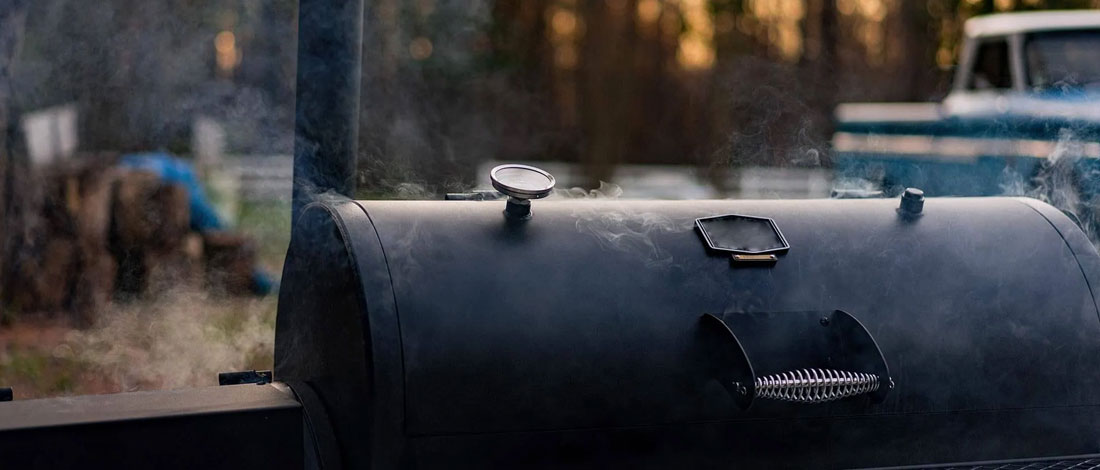
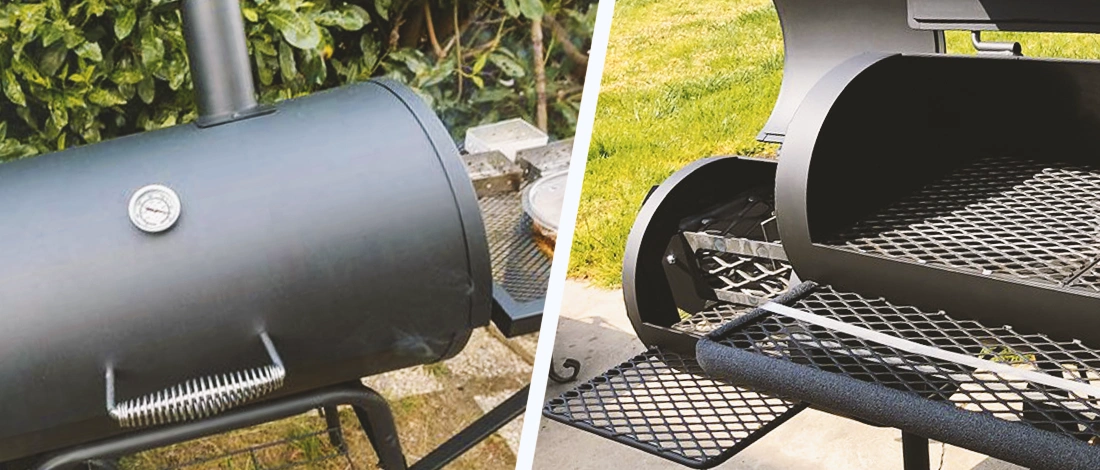
Once you’ve nailed the basic method, there’s room to experiment. Try the initial low cook on a smoker instead of the oven, and you’ll get a subtle layer of wood-fired flavor underneath that seared crust. Tomahawk steaks, porterhouses, and thick-cut filets all respond beautifully to this approach. You can play with compound butters, different finishing salts, or a quick baste with herb-infused oil. The technique stays the same. What you build on top of it is up to you.