How to Season an Electric Smoker (5 Easy Steps)
You are a fan of different types of meats. A born organizer, you like to gather your friends and family often and, of course, prepare a lot of food. As carnivore diet practitioners, we've spent years mastering the art of cooking meat to perfection—and that starts with properly seasoning your equipment.
You even bought a new electric smoker and cannot wait to try it out. Your "new best friend" is finally at home, so you can't wait to take it out of the box and start preparing your favorite meal.
No, not so fast! Before you smoke the meat for the first time, you need to learn one essential thing - how to season an electric smoker.
Quick Summary
- Seasoning an electric smoker involves assembling, washing with mild soap, applying cooking oil, starting the smoker with wood chips, and finishing the process at 275°F for 3 hours.
- Seasoning removes dirt and harmful materials left during manufacturing, protects the smoker from rust, and ensures delicious and healthy meat.
- According to a 2018 study in ACS Publications, cooking oil can reduce bacterial levels on the surface of cooking equipment by 1,000x [1].
- Regular maintenance includes cleaning while warm, paying attention to all surfaces, and storing and covering the smoker well to extend its usage.
5 Steps On How to Season an Electric Smoker
Before you start using your electric smoker for the first time, season it. Seasoning creates a protective layer on the interior surfaces and removes any manufacturing residues or oils that could affect the taste of your meat.
Some manufacturers have their instructions for the seasoning process, which you will need to add or combine with the methods below.
Step 1 - Assemble it for Smoking Properly.
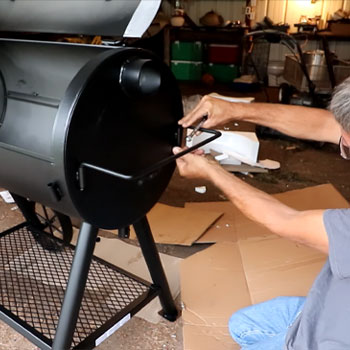
Even if your new smoker will probably be pre-assembled, we think it would be a good idea to mention this.
Take everything out of the box in which the smoker is packed and read the manufacturer’s instructions on how to put all parts together.
If anything is missing or some components are damaged or broken, don’t start to smoke. According to the National Library of Medicine, around 3,000 deaths a year are attributed to food-borne illnesses in the US [2].
Replace these faulty parts first because they may cause huge problems. In the end, you may need to check every screw once again to make sure they are tight.
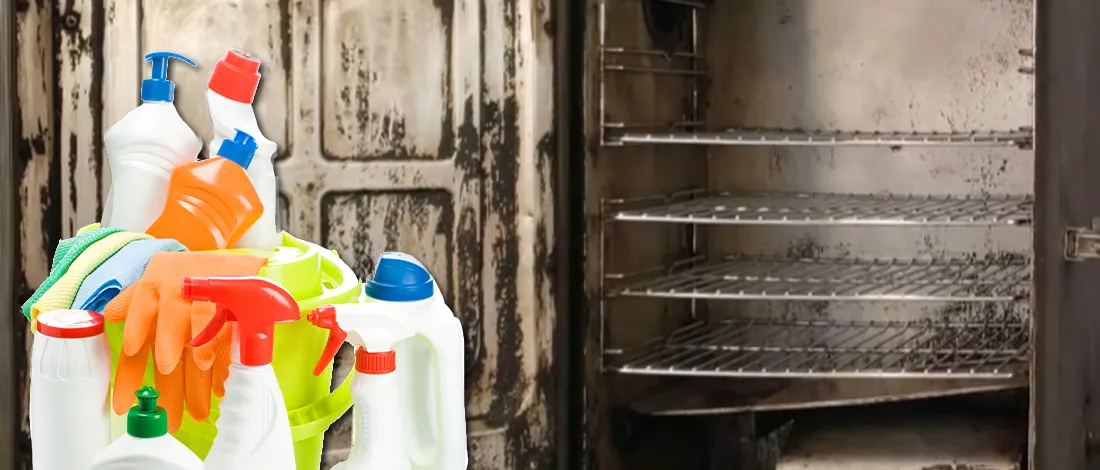
Step 2 - Wash It with Mild Soap and Water Inside and Outside
This is a straightforward step, which doesn’t require anything you don’t already have at home. Prepare warm water, mild soap, and sponge or cloth.
First, take a damp cloth or a sponge with mild soap to wash your new smoker inside – top, bottom, sides, grates, and then racks and trays. Then rinse all surfaces.
Repeat the same procedure for external surfaces. Leave the smoker open to dry on air or use a dry cloth to wipe it. Make sure that the smoker is completely dry before proceeding to the next step.
Step 3 - Apply Cooking Oil
After you dry the whole smoker, coat the inside of your smoker with cooking oil. Take the water pan, drip, and racks out of the smoker.
You have to add oil all over the smoke chamber’s interior surfaces by spraying in on the cloth.
Use only a thin coat of oil, which must not drip. Also, make sure not to coat the heating elements with it.
In the end, place everything back inside the smoker and leave the trays empty. Do not fill them with water, fuel, or food.
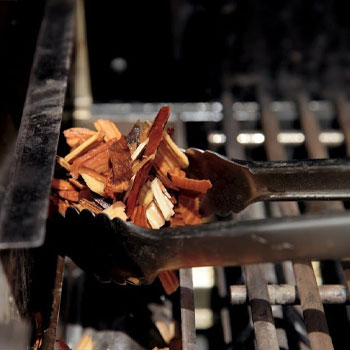
Step 4 - Start the Smoker by Adding Wood Chips to a Wood Chip Tray.
Try to put the new electric smoker close to a power outlet and provide a direct connection. Using a heavy-duty extension cord with an earth pin will do the work if that is not possible.
Plug in and run the device. Usually, there is a power button you have to press to turn the smoker on. Be sure to keep the vents open until the end of the seasoning for vapors to come out of the smoking chamber.
Set the temperature to the maximum possible, around 275 degrees Fahrenheit, and wait for it to start heating up. Controlling your smoker's temperature is essential if you want to season your smoker correctly.
Leave it that way for 3 hours for the high heat to burn all the dirt from the inner chamber. During the last 45 minutes, add wood chips around half a cup to complete the process.
Some manufacturers recommend adding wood chips to the tray after 2 hours to produce smoke in a 20 minutes interval. The reason is to create a protective layer and prepare the smoker for future uses.
Some other manufacturers say this is a big no. That is why it is necessary to carefully read the instructions and set the grill correctly before the smoke process starts.
Related: 2 Unique Ways To Season Wood For Smoking
Step 5 - Finish the seasoning process.
After 3 hours at a 275 F temperature, you can turn your new electric smoker off. Open the inner chamber very carefully because it will be filled with very hot smoke.
Leave it to cool down, then empty the chips tray of ashes and wipe the bars inside with a dry cloth.
“Start with a clean grill. Keep it clean by brushing with a wire brush after preheating and again after cooking.”
- Emeril Lagasse, Chef
Why Should You Season an Electric Smoker?

When you buy a new smoker, you need to learn how to season it properly. Smoker seasoning takes time, but when you see the result - like that tasty meat on your plate - you will not regret it.
Here are the reasons why you should season your electric smoker.
To be sure there is no dirt when you put your food on
Brand new smokers are exposed to various dirt, from the factory where they are produced, all the way to transportation to the warehouse and store.
Even in the cleanest conditions, all these activities during the manufacturing process will leave traces: from various cleaners, industrial oils, solvents, adhesives, paint, and dust.
Seasoning your smoker for the first time will help you effectively get rid of any harmful material left during the manufacturing process.
Because of the heating element, none of them will be able to reach your meat.
Related Articles:
- How to Insulate a Smoker Firebox?
- How to Season a Masterbuilt Propane Smoker?
- Best Ways to Use an Electric Smoker in the Rain
To protect it and extend electric smokers’ usage
You will not use your electric smoker every day, but you shouldn’t buy a brand new one every time you want to smoke your food.
That is why you need to try to extend its life and make it last longer. If you season your smoker, you will help it become rust-proof and protect it from moisture.
To get delicious healthy meat
The seasoning process and cleaning the inner chamber of electric smokers help the food taste better, smell delicious, and, most importantly, be healthy.
A safe environment means that potential hazardous matters will not get into your meat, which is the most important for you and those who will make and eat the food.
3 Tips In Maintaining an Electric Smoker

If you want to get the best out of your electric smoker, you must maintain it regularly after each smoking.
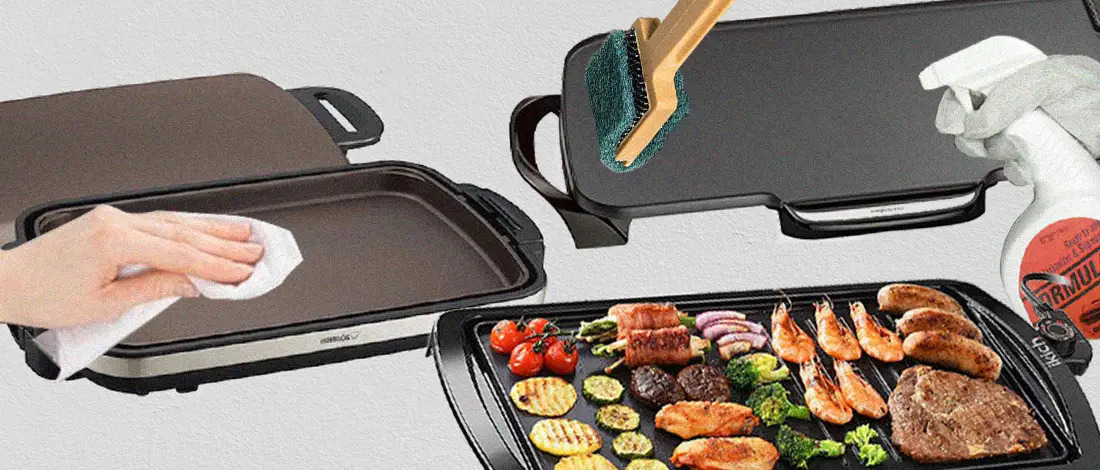
1. Clean the unit when it is warm
The best way is to scour it while it is still warm. You don’t need any chemicals, only warm soapy water. Check if it is unplugged before you start cleaning.
Using a wire brush will help remove grease and dirt from the shelves. Use a damp cloth to wipe down the interiors and remove loose ashes.
Also Read: How to Clean an Electric Smoker
2. Pay attention to all surfaces.
If there is a viewing window, take a few paper towels, scrunch them into a ball, damp a little with water and ashes then wipe down the glass.
Use paper towels and wipe again to remove all the ashes. If needed, you may also want to wash your electric smoker outside with soapy water and then wipe dry.
3. Make sure to store and cover it well.
When completely cold, washed inside, and dry, you need to pack it carefully. Using a protective cover will keep the unit dry. Store it in a convenient place, but avoid the living space.
How To Season An Offset Smoker?
To season an offset smoker, start by power washing both the exterior and interior to remove manufacturing residues. Then, coat the entire interior with a high smoke point oil like canola or vegetable oil to create a protective layer and prevent rust.
After you’ve applied the oil, you want to let it sit for around 15 minutes up to 20 minutes. This helps us set the canola oil and allows fumes from the oil to escape from the chamber to avoid flare-ups.
After the excess oil has had time to set, it’s time to light the grill to season it. You want to avoid using any type of wood or wood chips to season your smoker as this can set into the interior. Instead, use the best smoker charcoal.
Get the charcoal going and try to get the temperature up as high as you can. Once you have the flames going, you will want to leave the dampers half-open. You will want to keep the process going for at least 2 hours.
References:
- https://pubs.acs.org/doi/abs/10.1021/acsami.8b03788
- https://www.ncbi.nlm.nih.gov/pmc/articles/PMC3375761/