DIY Cold Smoke Generator (Step-By-Step Guide)
There’s no need to pay hundreds of dollars when you can make a DIY smoker.
At Carnivore Style, we believe in getting the most out of your equipment, and I’m talking from personal experience here, as I’ve made one myself, and I’ve been successfully smoking food for years.
Today, I’ll explain everything you should know when making a DIY cold smoker.
I’ll talk about the tools and materials you’ll need and talk you through the step-by-step process so that you can start cold smoking the right way.
Quick Summary
- A DIY cold smoke generator can be built using an aquarium air pump, a can, wood pellets, and two steel tubes.
- The process involves drilling holes in the can and tubes, assembling them, and connecting to the aquarium pump.
- The homemade cold smoker can be used for about an hour before needing to refill with pellets or wood chips.
- In case you find the whole process overwhelming, here are our top 5 picks for cold smokers.
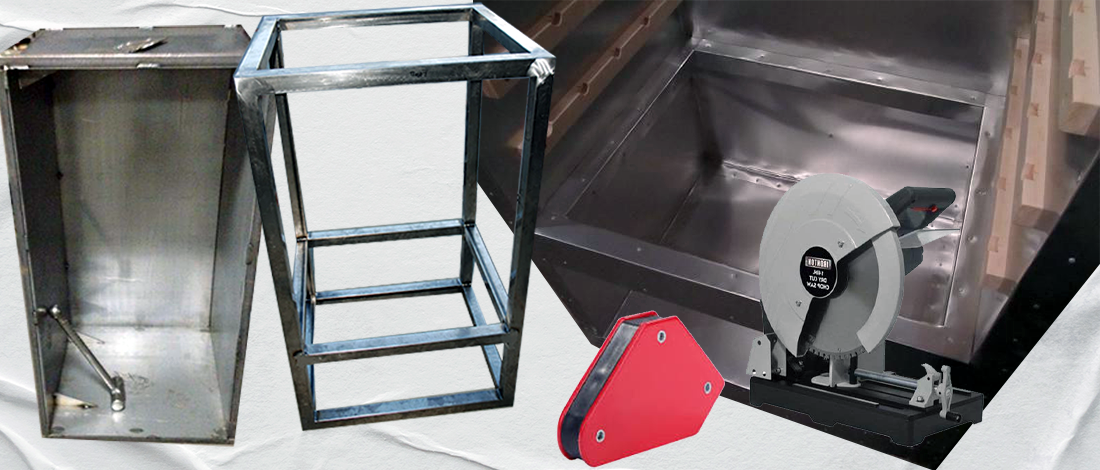
Materials and Tools You Need for a Cold Smoker

Building cold smoke generators is a relatively easy task that can be done in one afternoon, depending on the size of the generator.
The materials you need for a small new cold smoker are:
- An aquarium air pump
- One can
- Wood pellets
- Two steel tubes
- Smaller pipe's outer diameter should be 5 mm, and inner diameter 3 mm
- Bigger pipe's outer diameter should be 12 mm, and inner diameter 3 mm
You should consider getting new steel pipes not to contaminate the food. Check that the can and the tubes you plan to use can be used for smoking meat and other food.
These shouldn’t have any paint or coating that could cause harm.
Tools that will make the cold smoker creation easier are:
- Drill
- Pliers
- Metal file
- Marker
Step-By-Step Guide on Making a Cold Smoke Generator

Here’s how to make a cold smoker step-by-step:
- Drill a hole 20 mm above the bottom of the can. This hole is for the bigger tube.
- Make another hole on the opposite side of the can. It should also be 20 mm above the bottom of the can. This is for the smaller tube.
- Make a hole between these two holes. It should be 10 to 12 mm wide and placed right between the first two holes.
- Use a 4 mm drill and make five holes in the bigger tube. The first one should be about 10 mm from the edge. The holes don’t have to be aligned perfectly, but they should be close to each other.
- Put a mark 25 mm away from the last hole on the big tube. Align the smaller tube with the bigger one starting from the mark. Then mark the smaller tube where it stops touching the bigger one. This is done to know how deep you should insert the smaller tube into the bigger one.
- Push the bigger tube into the can. The holes on it should face the middle.
- Insert the smaller tube into the bigger tube, so the marks overlap.
- Connect it to the aquarium.
- Place a metal sheet over the tubes (inside the can) so that the holes don’t choke.
- Insert wood pellets in the can.
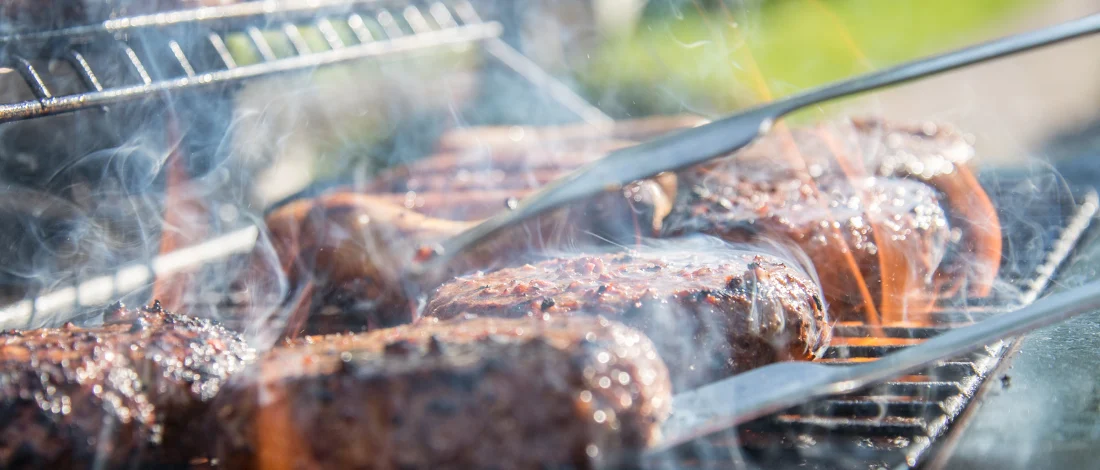
- Put the cold smoker next to the grill or a box with meat or fish.
You’ll be able to use this cold smoker for about an hour before you’ll have to refill it with pellets or wood chips.
Note: If you don’t want to go through all the trouble with the tubes, you can buy a soldering iron. Place the soldering iron so that the tip stays in the pellets.
This way, you’ll be able to do cold smoking for hours before having to replenish the wood pellets.
In case you want a cold smoker with a larger smoke chamber, you’ll need different tools and more time to make it.
For a cold smoker with a larger smoke chamber, you’ll need:
- Nails
- Hammer
- Drill
- Rack
- Wood pellets
- Wooden planks
- Hook for hanging the meat
- Cold smoke generator
Here’s detailed information on how to make a larger DIY cold smoker:
- Create a crate. For example, place an old box on the side with the front open for air to flow.
- Make a hole in the sides, top, and bottom.
- Place a generator on the bottom of the box. This is your heat source, so put the pellets here.
- Make sure there’s enough space under the generator to light up the pellets. The smoke should be able to rise nicely.
- Once everything is set up, close the box lid so that the smoke doesn’t escape.
That’s it. Your DIY smoker is ready, and you can start cold smoking.
Maintaining Low Temperature in a Cold Smoker

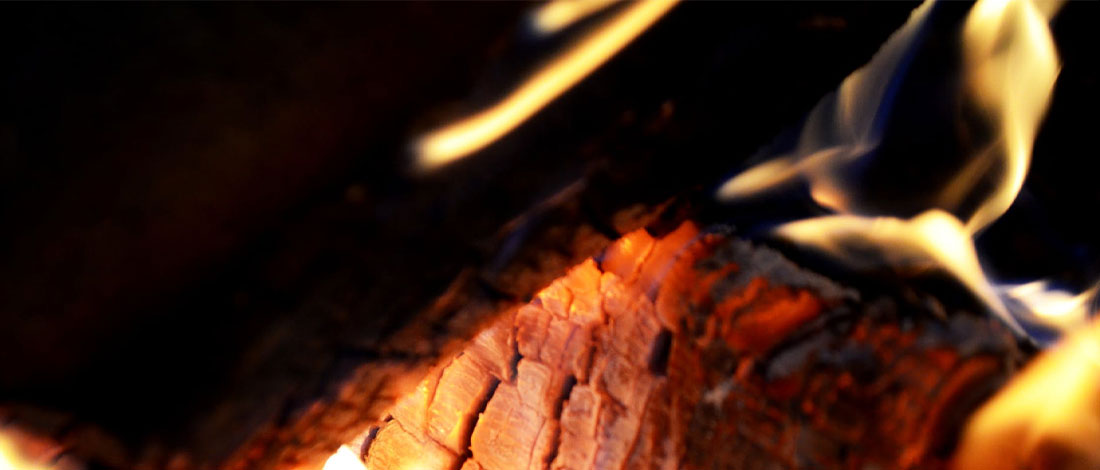
If there's smoke, it means there's some burning going on. The issue here is how to produce smoke and maintain low temperatures.
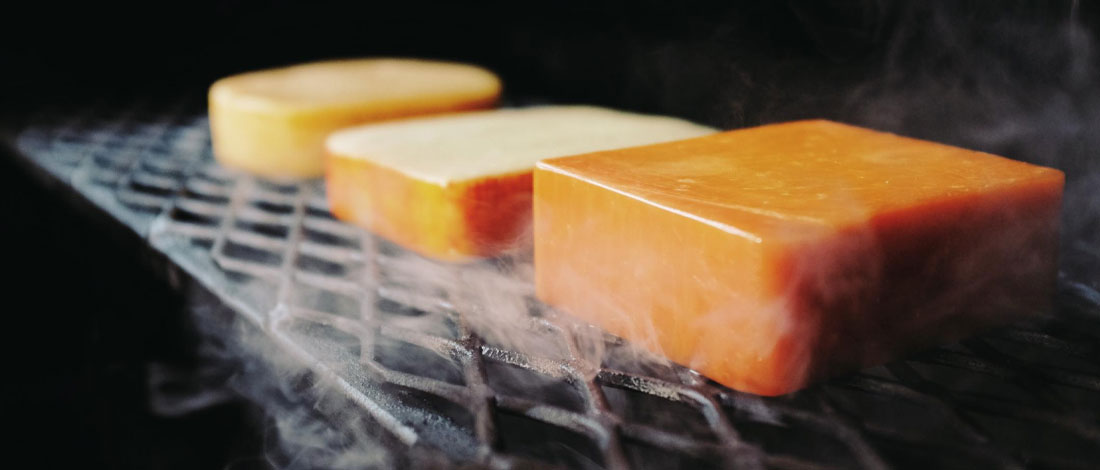
When creating smoked meats or smoked fish, the temperature should be between 30 to 40 degrees [1].
The temperature can stay at about 40 degrees because you must balance the heat inside the smoker and the colder outside temperature.
One thing that can help maintain a low temperature is to use aluminum foil or a drip pan with ice in the smoking chamber. This should be placed between the firebox and the food.
Another option is to use two chambers. You should have an unheated smoking chamber, and the heat should come from a separate chamber.
Finally, the weather is a very important factor. The best time for using a DIY smoker is during the cold months. The cold air is extremely helpful in making sure the food smoker doesn’t heat up.
“It’s best to do cold smoking in cold weather. If you cold smoke cheese, and it’s hot outside, it'll melt. The outside temperature should feel like you’re in a fridge, so winter months are the best.”
- Alchemy Kitchen YouTube Channel
In case you can’t do the cold smoking during the colder months, try smoking late at night or early mornings when the temperature is low.
FAQs
What Is a Cold Smoke Generator?
A cold smoke generator is an attachment that smokes food at low temperatures — below 40 degrees. It’s different from hot smokers, as they both cook and smoke the food at the same time. A cold smoker only smokes the food.
What Foods Are Good Cold Smoked?
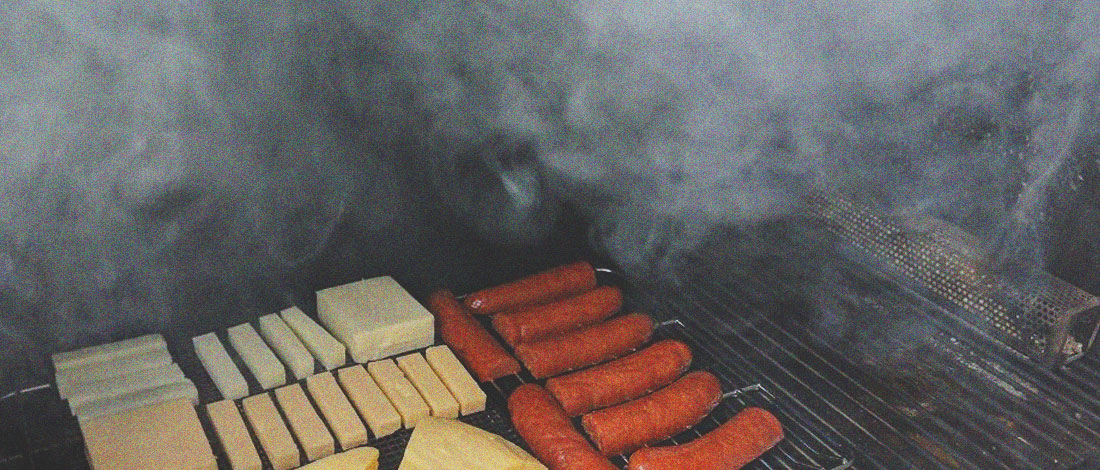
Salmon, sea scallops, sausages, bacon, and beef are foods that are good cold smoked.
At Carnivore Style, we want to help you create the best carnivore meals with the tools you can trust. Check out our other guides for more DIY tips and smoking advice to perfect your meat preparation.
References:
- https://www.oklahomajoes.com/how-tos/cold-smoke