DIY Propane Smoker (8 Easy-to-Follow Steps)
Looking to build your own propane smoker but don’t know where to start? A homemade smoker is not only a great project for any grilling master. It also brings great satisfaction to say, “I cooked that and built that!”
To help you achieve that propane smoker dream, the Carnivore Style's team has gone ahead and put together everything you need to know to create the ultimate barbecue pit. This propane tank smoker plan is made from a 250-gallon propane tank.
This traditional offset smoker is super fuel-efficient, with a maximized airflow to maintain a clean, burning fire. Let’s build a smoker with our step-by-step guide!
Quick Summary
- Building a DIY propane smoker requires a 250-gallon tank, tools like clamps, saws, welders, and materials emphasizing fuel efficiency and airflow.
- The construction includes eight steps: door, handles, seal, smokestack, grates, firebox, seasoning, and grilling, with careful measurement and assembly.
- According to a 2024 Statista Report, gas barbecue grill were the most popular in 2018, with sales in the United States reaching approximately $1.32 billion, contributing to a total barbecue grill market value of about $2.44 billion [1].
- Proper seasoning and careful construction are key to a clean, well-functioning smoker, allowing for variations in size and materials for delicious smoked food.
Things You’ll Need
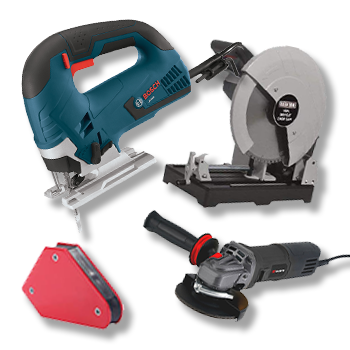
Tools:
- Clamps
- Metal Cutting Chop Saw
- Metal Cutting Circular Saw
- Oxy-Acetylene Torch
- Jig Saw
- Welders Magnets
- Angle Grinder
- MIG Welder
- Spare Wheels
- Abrasive Wheels
Materials:
- 250 Gallon Propane Tank (chamber)
- Ceramic Insulation (firebox)
- ¼” Steel Plate (firebox)
- Square Tubing (firebox and grates)
- Expanded Metal (grates)
- Angle Iron (grate brackets)
- Tubing (hinge and handles)
- Round Stock (hinge and handles)
- Large pipe (smokestack)
- Flat Bar Stock (door seals)
- Large pipe (smokestack)
- Thermometer
Propane Smoker Design
Before we go ahead and build a smoker, we first have to decide what we’re going to build the cooking chamber from. In this instance, we’re going to use a 250-gallon propane tank since they’re made of thick steel.
A 2003 published on Research Gate found that steel propane cylinders exhibited greater survivability in fire conditions compared to aluminum cylinders, with steel withstanding over 40 minutes of exposure without failure [2].
You can also use any type of steel tank or pipe, and if you want to use a different size, that’s okay too, you’ll just have to adjust some of the measurements on your smoker.
When making the firebox, you’re going to use a ¼’ plate steel as well as 1.5” of ceramic insulation.
This will help keep the warmth in, burning the fuel more efficiently. Avoid using anything lighter than 3/16” steel for the smoker’s firebox since you’ll end up using more fuel due to heat loss. Of course, this isn’t necessary.
But if you’re going all-in to build a DIY bbq smoker, you might as well build it the best it can be!
If you’re using a different size chamber, you’ll want to build your firebox around ⅓ of the volume of your chamber.
It’s recommended to use a smokestack that’s 6 to 10 inches in diameter. Giving your smoker a taller smokestack will maximize airflow to ensure a clean-burning fire.
If you build it too short, you’ll have trouble with your firebox, leading to thick smoke and bitter meat.
While a lot of DIY smokers draw air from the top, this design draws air from the side. This ensures direct smoke flow across the grates where the meat will grill.
“This is my invariable advice to people: Learn how to grill — try new recipes, learn from your mistakes, be fearless and above all have fun!”
- Julia Child, Chef
How To Build Your Propane Smoker
Step 1: The Door
To build off our DIY smoker, we first need to mark where the door will go.
Measure ¼ around the gas tank for the bottom of the door, and leave a few inches from the top of the tank for the top of the doors.
It’s recommended to have 2 doors since having only 1 can risk distortion when you cut the door off the DIY BBQ smoker. To keep your door in alignment, weld the hinge to the door before you finish cutting.
You can buy hinges, but since this is a DIY smoker project, let’s build them!
Cut out some round stock and tubing using an angle grinder, and a metal cutting chop saw.
- Just about where you’re cutting the door, tack weld the tube.
- In a vice, bend some round stock. This will slide into the tube you just welded. If you’re having trouble bending the stock, you can add a little heat.
- Once the hinges are ready, cut out the door, but not all the way.
- When welding on the hinge, slide the L-shaped bar pieces into the tube and then weld them to the door. Once you’ve done so, you can fully cut out the door holes.
Remember, cutting into a propane tank can be dangerous. If you don’t feel confident enough, get a professional to cut out and clean the tank for you.
Before you start cutting into the smoker, fill the tank with water and soap to remove any propane still in your burner.
Step 2: The Handles
The handles are quite simple to build, and you can do it in the same way as the hinges.
You’ll need to:
- Bend another 2 pieces of round stock.
- Put a tube between them to build the handles.
These types of handles allow opening the door easier, but anything you can weld on the smoker as a makeshift handle will do!
Step 3: The Seal
If you’d like to stop the heat and smoke leaking out of the smoker, you can add a trim. It’s not needed, but it sure does help for a better smoke!
Use a flat stock to seal down the door, matching how it curves.
Step 4: The Smokestack
The easiest way to build a smokestack is by cutting a hole in the top of the gas tank and welding a pipe to it. But this time around, we’re going to weld the smokestack to the side of the tank.
This way, you’ll get better smoking as they’ll be in line with your cooking grates.
Always start taller than you mean to be. It’s easy to build something shorter but harder to make it longer!
- Decide where you’d like the smokestack and mark the opening hole.
Make the opening wide enough to collect air from the whole smoker and not just the middle. Once the opening is marked on your BBQ, cut it out.
- Grab your pipe and cut out the notch holes that are the same size as the opening on your smoker.
You can use the same thickness sheet as your pipe and use cardboard as a template to match the curvature. Cut out the pieces with a jigsaw.
- Once you have everything laid out, you can weld them onto the tank.
Start from the bottom and build your way to the top. It’s important to weld your bottom plate well so it can support the rest of the smokestack.
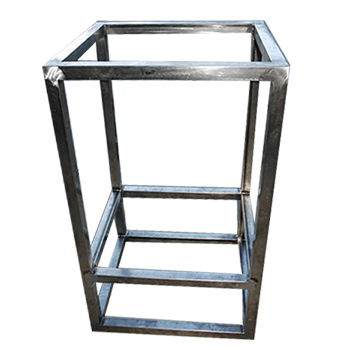
Step 5: The Grates
There are many ways to build the grates, but we’re going to keep it simple.
To grill our meat, we’re going to build two removable grates into our smoker, in line with the bottom of the door. If you’d like a bigger grilling space, that’s up to you, you can add more grates if you would like.
- In your smoker, weld some angle iron to support the grates.
To ensure the grates fit properly, the supports in the smoker need to be parallel.
- Next, you’re going to cut out your frame holes.
You’ll have to measure your grates to ensure they’ll fit in your smoker. Build a rectangular frame using square tubing, then weld everything together. Since the metal will expand, give them time to cool so they don't cause any warping.
- Once everything is welded, you’re ready to install the grates.
Step 6: The Fire Box
Now the main part of the smoker is finished, it’s time to build the firebox.
The firebox should be ⅓ the side of your grilling chamber. If you use steel that is too thin, your fire won't burn so well, and you’ll end up losing a lot of temperature. It’ll also cause a higher warping risk since you’ll use more fuel.
- Cut out all the sides of your box. If you want to make it easier for yourself, you can get a professional to do this. If you’re good with a circular saw, you can do it yourself too. Once all the sides are ready, you can weld them together. To make a stronger joint, leave enough space to fill in your welds.
- Once the box is built and welded, you can cut out holes for the opening and a connection to the smoker.
- (Optional) If you want to insulate your firebox (this will keep everything hotter), you need to weld some tubing along the sides you want to insulate.
- Once you’ve finished building your box by covering the insulation with some thinner steel, you can leave the top off as we will weld it to the smoker.
Now the box is finished, you can attach it to the smoker.
- Cut out the opening holes in the smoker.
Mark a line halfway down the smoker. The box goes here so the hot air and smoke can enter the smoker at the grill level. You can cut straight down to make a half-moon-shaped opening.
- Once the box fits well, you can weld along the edges of the smoker.
Once you weld the top edge, you can place the insulation inside and weld the top to fully build the box.
Step 7: Seasoning The Smoker
Now your BBQ smoker is almost finished, you need to season your smoker!
Whether you build a smoker or buy one, seasoning is a super important step.
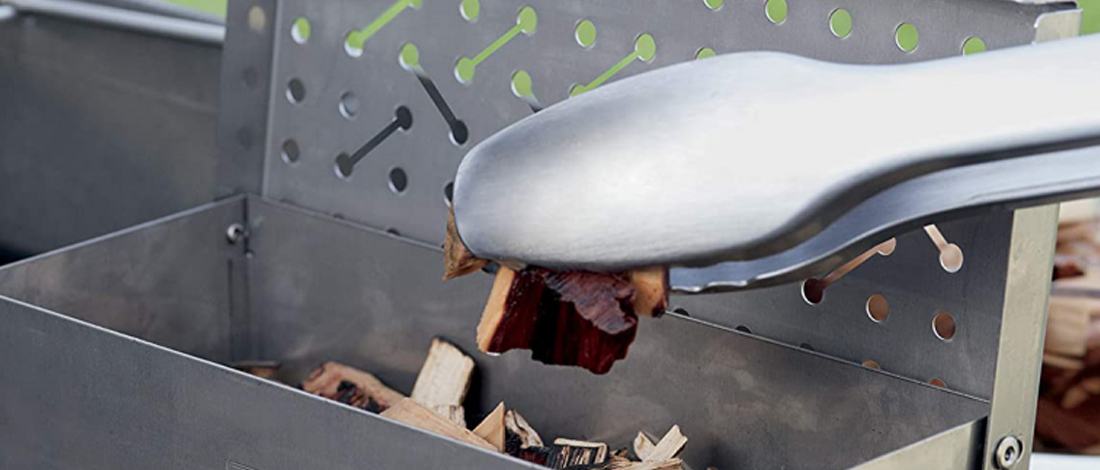
- Fill the smoker and firebox with charcoal or wood to get the temperature as hot as possible. This is super important to burn off any chemicals from the building process. You don’t want any of that on your food or meat!
- Let your smoker burn the wood for a few hours to make sure it’s nice and clean. Then, it’s ready for seasoning.
- Grab some vegetable oil and coat the entire interior of the smoker. Place more wood inside to get a hot fire going in the firebox and let it burn for several hours.
- Once the smoker is cooled, you’ll need to wipe it down and repeat the process. Now, your homemade smoker is clean and ready to cook some food!
Related Article: Tips & Tricks for Seasoning Your Electric Smoker
Step 8: Grilling Time!
Congratulations, all your hard work has paid off!
You can now enjoy some delicious smoked food after following this step-by-step guide.
After building, it’ll take some time to get used to your new smoker, how to control the flame, and find the results you need. But, the more you smoke, the better your food will become!
Smoking low and slow is the key. Be patient, open to new ideas, and always careful
You’ll soon be wowing your friends with great grub and craftsmanship!
Related Articles:
How to Make a Stovetop Smoker?
To get your smoking process started, make sure that you have enough aluminum foil at hand because a DIY smoker needs a lot of it to contain the smoke.
Find a large pot and cover the bottom of the pot with foil. This forms the base for the wood chips.
Press the next layer of foil as flat as possible, and put a metal rack or steamer insert on top.
The smoker is now ready for the meat, chicken, or fish. Place it on top of the metal rack, making sure to leave enough space for the smoke to flow inside the pot.
Put the lid on and secure the edges with a sizable piece of tinfoil to ensure that all the smoke stays inside the smoker. If not, you could end up with a very smoky kitchen!
To get the wood chipssmoking, you need to heat the pot quickly, so place the pot at a high temperature for approximately 5 minutes or until you notice wisps of smoke beginning to circulate.
Now turn down the heat to medium-low for 10-40 minutes depending on what you're cooking and the size of the cut. Allow the meat to rest for 10 minutes before removing the foil.
At Carnivore Style, we’re here to help you elevate your barbecue game. Explore our other guides for expert tips on smoking meats, so you can make every grilling session more delicious and satisfying.
References:
- https://www.statista.com/statistics/662230/us-grill-and-barbecue-sales/
- https://www.researchgate.net/publication/229599985_The_survivability_of_steel_and_aluminum_335_pound_propane_cylinders_in_fire