How to Grill? (4 Step-by-Step Guides You Can Follow)
When it comes to grilling, I've had my fair share of trial and error. From my early grilling mishaps to countless hours of research and experimentation, I've come a long way in mastering the art of grilling.
In this comprehensive guide, I'm thrilled to share everything you need to know about grilling, ensuring that you'll never again be plagued by dry, poorly cooked meat.
From mastering temperature control to achieving the perfect sear, consider this your roadmap to grilling success
Quick Summary
- Understanding the type of grill you own is essential in determining the most effective grilling techniques.
- Use different heat zones to prevent flare-ups and burnt food.
- Use a meat thermometer to know when your food is done cooking.
What Grill Do You Have?
The first step before you start grilling is determining what kind of grill you have.
There are four kinds of grills:
- Charcoal
- Gas
- Electric
- Propane
- Pellet
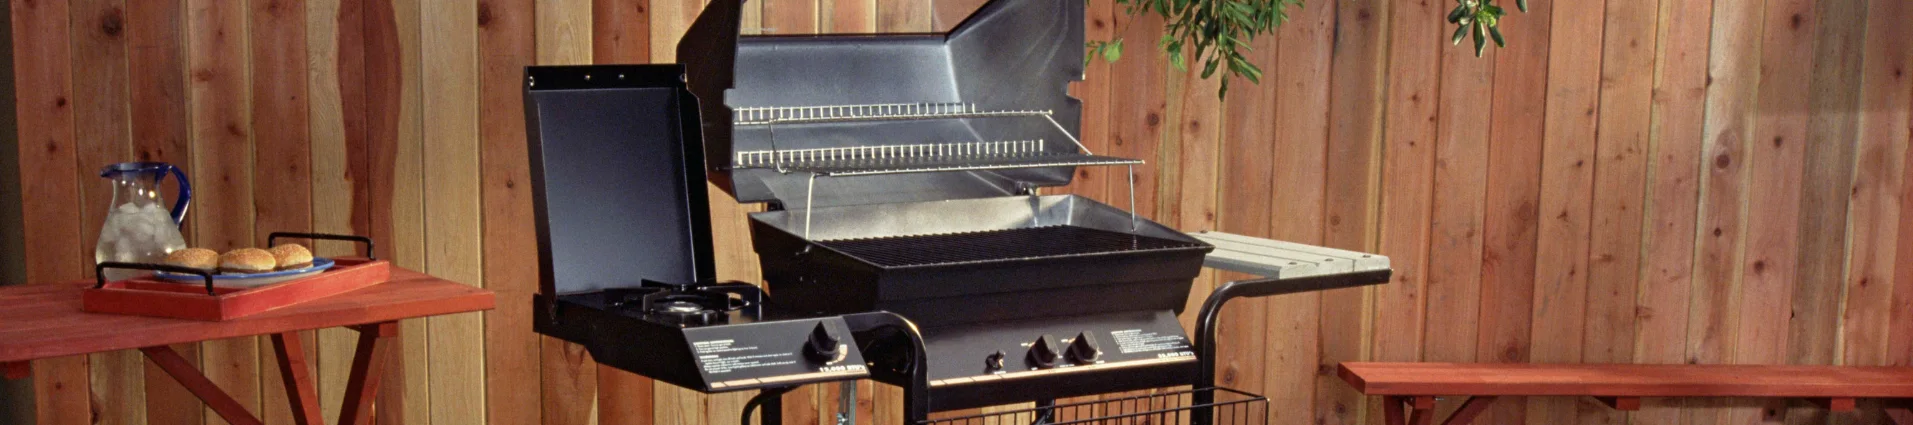
Electric is the easiest to identify. It’ll have cords that you have to plug into outlets. In case there aren’t any cords, check under the grilling unit. If there’s a tank, you have a propane grill.
If there’s no grill tank, check for knobs or buttons on the front of the grill. This means you have a gas grill.
Finally, if there aren’t any cords, tanks, or knobs, and your grill looks like a kettle, it’s most likely a charcoal grill.
Generally, a gas grill is the easiest to use, so it’s a good option for beginners. You can connect it to your home’s gas line, so you never worry about running out of gas.
You dial up the flames or turn down the heat as needed. The gas grill does most of the work.
Another popular option is charcoal grills.
They are budget-friendly, but you have to learn how to start and manage a fire, which means there’s a steeper learning curve compared to a gas grill.
However, a charcoal fire is best for a classic smoky flavor.
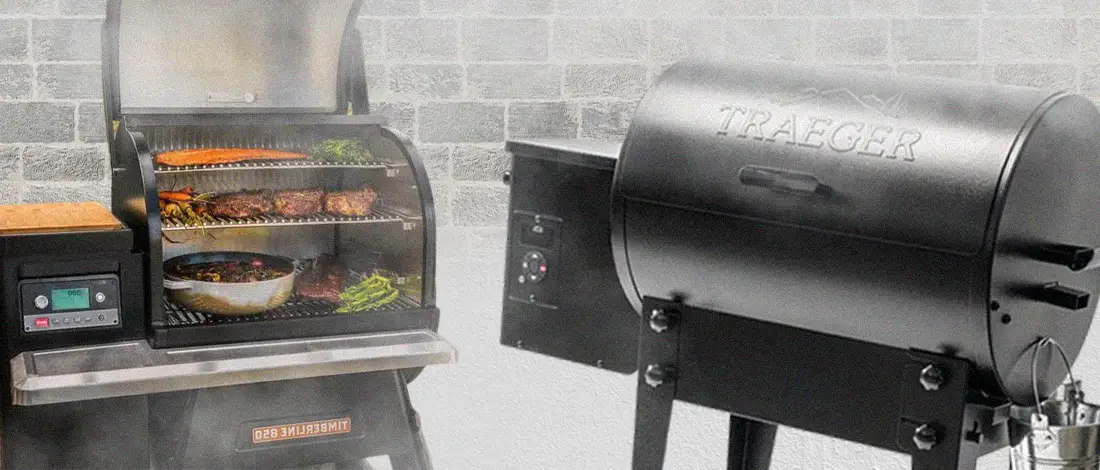
Lastly, pellet grills utilize wood pellets as a fuel source, providing an authentic wood-fired flavor.
They also offer precise temperature control and automated features, making them a favorite among grill enthusiasts seeking versatility and consistent results.
How to Grill Step-by-Step
Here’s exactly how to operate a grill, depending on what kind of grill you have.
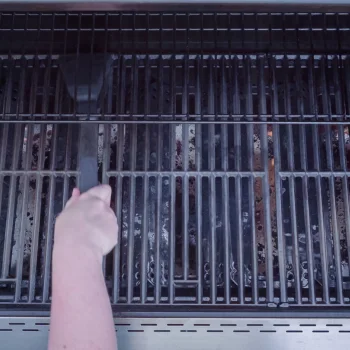
1. Clean and Prep the Grill
Once you know what kind of grill you have, it’s time to prepare it for grilling.
Always check if your grill is clean before you start cooking.
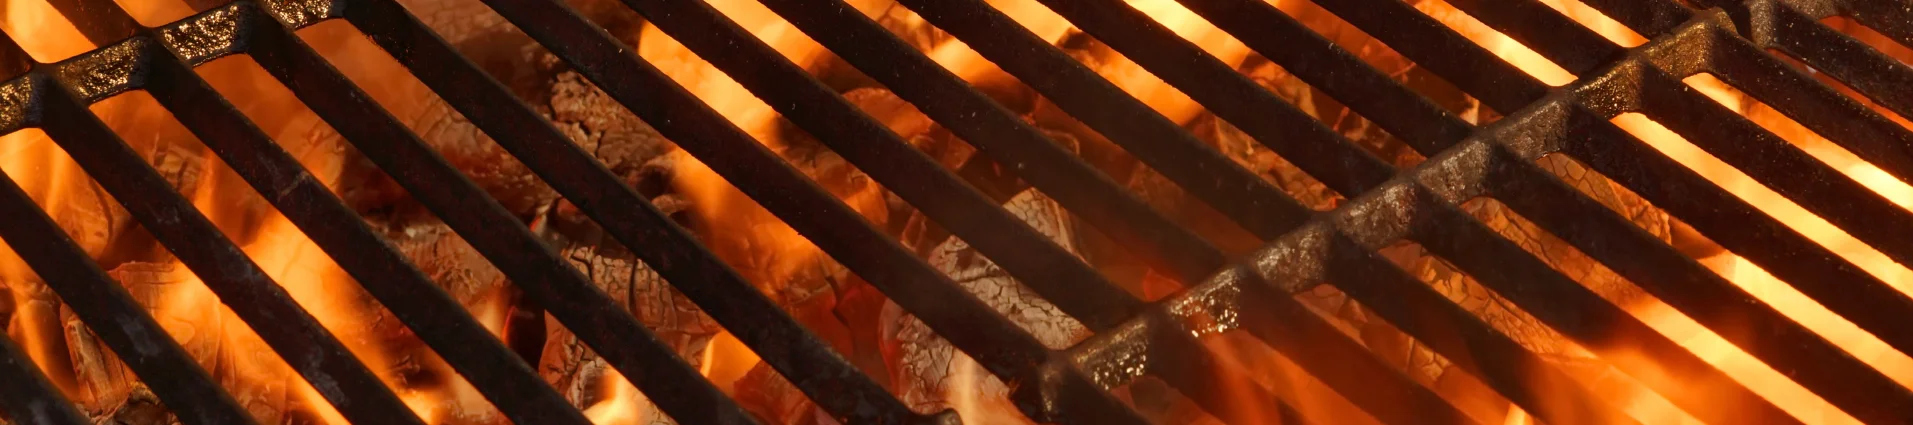
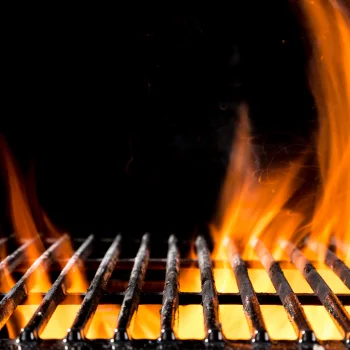
Start by lighting the charcoal grill or turning on the burner on a gas grill. Close the lid, and let the grill heat for about ten minutes. It’s easier to remove stuck food from heated grates.
If you have steel or cast iron grill grates, use a steel grill brush to remove rust and leftover caked food. If you have porcelain-coated cast iron grates, use a nylon grill brush so you don’t scratch the grates.
Note: Some grills come with a special tool that cleans the grates. Check if you got this tool with your grill, and use it if available.
In case you don’t have a cleaning tool or a brush, scrunch up some aluminum foil, hold it with tongs, and clean charcoal and gas grills.
Apart from the grill grates, you should also clear the bottom of the grill of debris to make sure nothing is blocking the heat source.
This especially happens with charcoal grills, as ash and leftover coals can be left inside the grill.
Once you’re sure your gas or charcoal grill is clean, you should season the grates to create a non-stick surface. If you don’t oil the grates, you risk the food burning and sticking to the grates.
Apply a thin layer of olive oil to the grates. Dip a paper towel in oil, grab it with tongs, and go over the grates. You can even use a spray oil and then wipe away any excess with a paper towel.
Make sure to lightly oil the grill because too much oil will burn on direct heat and create a buildup you must clean later.
Pro tip: If your grill doesn’t have side shelves, you can set up a side table next to the grill for your supplies. You can place the grilled chicken breasts and other food here, seasonings and utensils too.
2. Turn on the Grill
Once your grill is clean and seasoned, it’s time to turn up the heat.
Here’s how to start each kind of grill:
- Gas grills - Check that valve on the gas line is open so that the gas can flow into the grill. Gas grills have knobs and an ignitor button. Turn the knob on high so the gas can flow to the burners, and press the ignitor button to create a spark that lights the flame. You’ll hear a clicking sound and then a whoosh, which means the gas is igniting. Once you hear this or see a flame, release the ignitor button.
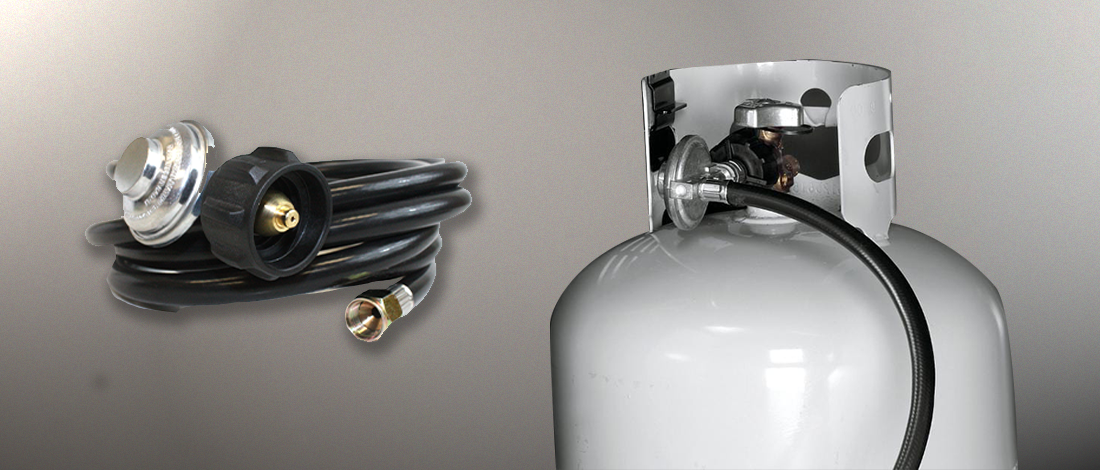
- Propane grills - Open the valve on the top of the propane tank so that the propane can flow into the grill. These work similarly to gas grills, so you should turn the knob and press the ignitor button.
- Electric grills - Plug the grill into an outlet and turn a knob to adjust the heat setting. Electric grills can take a while to reach the heat, so you have to wait.
- Charcoal grills - Add charcoals to the bottom of the grill. If your charcoals are “match light,” light them up with a match. If not, you need a lighter fluid. Add enough fluid to soak the coals, but don’t overdo it. Light the coals immediately after applying the fluid. Wait until the coals are a light gray color, spread them around, and start charcoal grilling.
- Pellet grills - To use a pellet grill, fill the hopper with your preferred wood pellets, then set the desired temperature using the control panel or dial. The grill's electronic system will ignite the pellets and maintain the selected temperature throughout the cooking process, offering you a hassle-free grilling experience with a distinct smoky flavor.
- Adjusting the temperature on electric, propane, and gas grill is easy - simply turn the knobs. However, charcoal grilling requires more work. You need to adjust the vents, add more or less coals, or create two heat zones (more on this below).
Pro tip: A charcoal chimney is a great tool for lighting up the charcoal. Remove the top grate, and put the tinder at the bottom of the charcoal chimney. Place the chimney on the bottom grate of the grill and light it with a long lighter.
Wait about fifteen minutes so the coals turn gray, and then place the coals from the chimney into the grill around the charcoal grate. Finally, return the top grate on the hot grill, and you’re ready to start grilling.
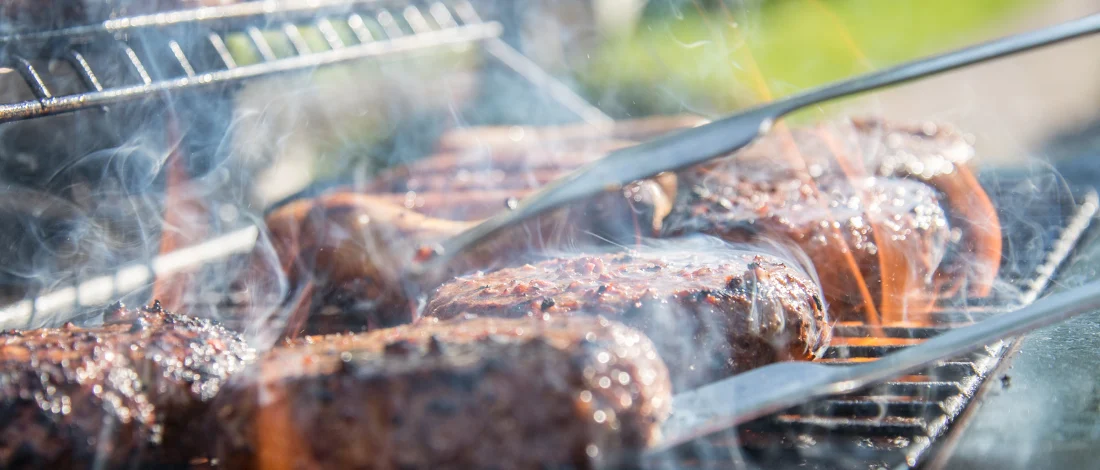
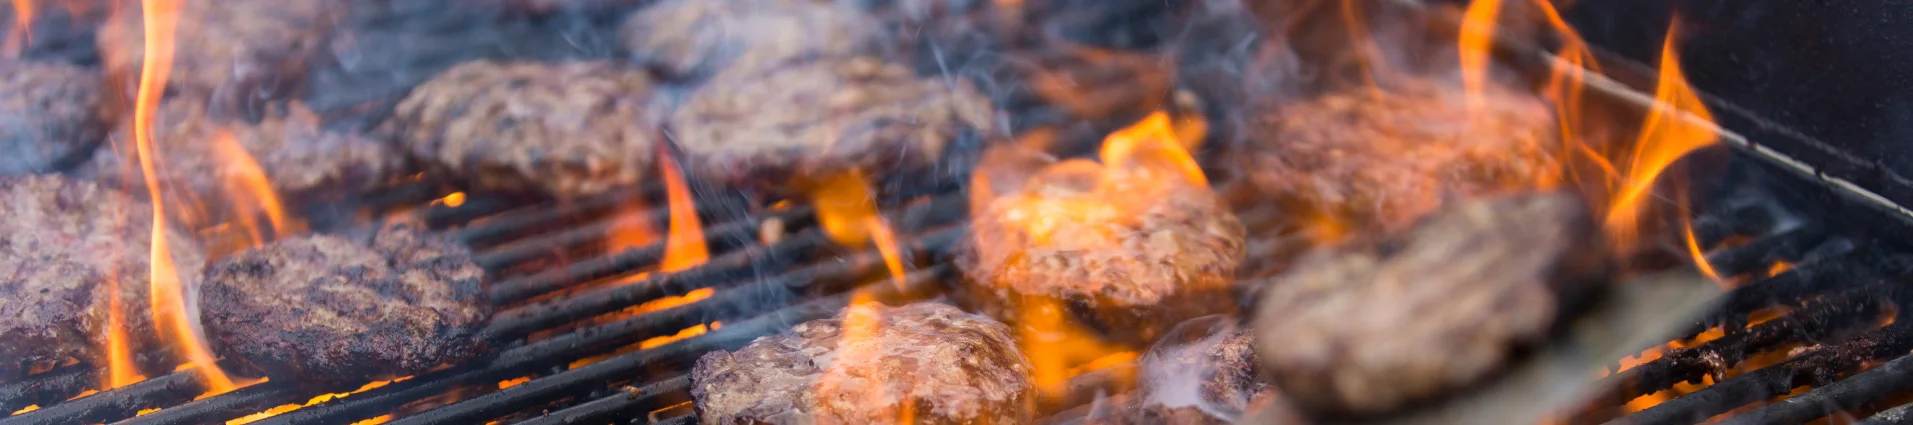
3. Cook the Food
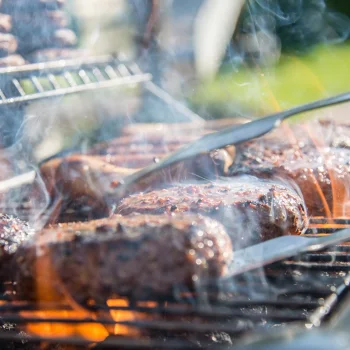
Cooking the food is all about the temperature. For example, grilled peaches and brisket need different heat levels.
You should keep an eye on the food during the grilling process because food catches fire easily.
One of the best ways to avoid this is to create direct heat and indirect temperature zones.
If you have a charcoal grill, move the hot coals to one side of the grill. If you have a propane or a gas grill, turn half of the burners down or off.
Then, you can use the hot fire zone to sear food and the indirect zone to keep food warm or give it more time to cook.
Pro tip: Direct heat is best used for red meat and raw meat you want to cook quickly. Indirect heat is best for low and slow, evenly-cooked food. You can even use the direct heat to sear a steak and finish it off in the indirect zone.
Overall, don’t be afraid to move the food around the grill, but don’t overdo it, and don’t flip too much, as this will prolong the cooking time.
“Always cook all meats to a minimum safe internal temperature as measured with a food thermometer to prevent foodborne illness.”
- U.S. Department of Agriculture
Also, you need to know when the food is done. Get a meat thermometer to check the inside temperature of the meat [1].
Here’s the proper cooked food temperature:
- Ground meat - 160 degrees
- Poultry - 165 degrees
- Raw beef, pork, lamb, and veal steaks, chops, and roasts - 145 degrees
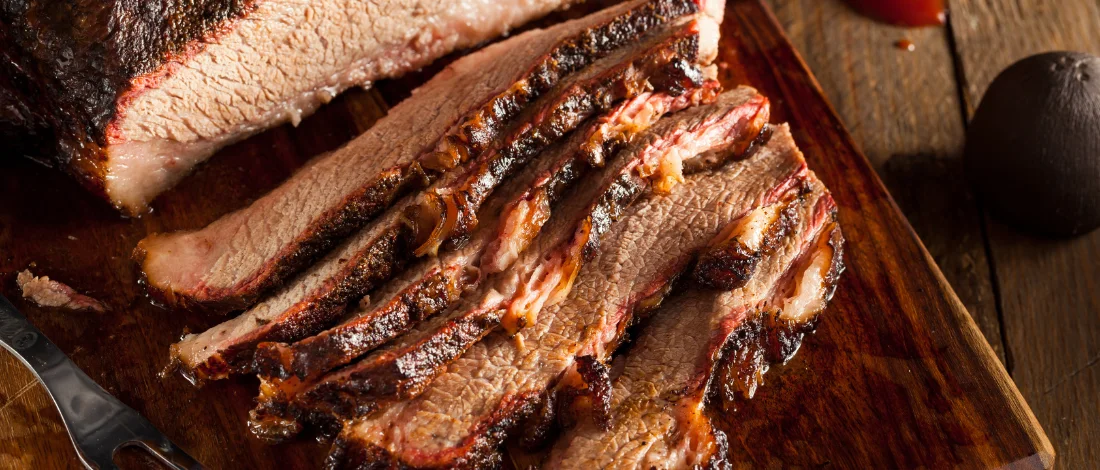
Finally, let the meat rest for 10 to 15 minutes after removing it from the grill. Resting allows the juices to redistribute, so you have juicier meat.
Also, the meat’s internal temperature will continue to rise after you remove it from the grill. Keep this in mind to avoid overcooking the meat.
4. Cool and Clean the Grill
Once all your food is done cooking, it’s time to clean the grill. Burn off any cooked-on sauces and foods.
Turn the medium heat to high, close the lid for about 15 minutes, then turn off the grill. If your grill is electric, unplug it. If it’s propane or gas, close the valves so the gas stops going to the grill.
If you have a charcoal grill, close the lid, and let it cool down (this can take a day or two). If you’re short on time, slowly pour water over the charcoal briquettes.
Transfer the ashes into a metal trashcan and get rid of them.
Once your grill is cool, repeat the cleaning and seasoning steps. Scrub the grates with a brush and oil them.
A clean grill is resistant to rust, and you can use it for longer.
Pro tip: Get a grill cover to protect the grill from the elements when not in use.
Grilling Tips & Tricks
Here’s what to keep in mind for a smooth grilling season:
- Applying sauce - Add sauce during the last five minutes of cooking. Many sauces are rich in sugar, and sugar burns, so apply when on medium heat.
- Use appropriate grilling tools - Use spatulas for fish, burgers, and tongs for all other food.
- Use a meat thermometer - The foolproof way of knowing when food is done is to use a meat thermometer and check the FDA’s food safety guidelines [2].
- Don’t press down on the meat - People new to grilling tend to press down on the meat, especially burger patties. But, this can cause flare-ups and open flame burn food, so avoid pressing down on the food.
- Season the food - Add flavor to the food using seasonings, rubs, or marinades for the best grilling results.
- Use enough fuel - Use enough briquettes, lump charcoal, or gas. It’s better to use all the charcoal you have than not use enough.
- Clean the grill with an onion - Use a cut onion to clean the grill. The rough surface and acidic juices of the onion can help in cleaning the grill and also add flavor to the meat.
- Let the flames die down before cooking - After lighting the charcoal, wait for 20 to 30 minutes before placing food on the grill to prevent flare-ups and scorching.
- Soak wood skewers in water - Before grilling, soak wood skewers in water for 30 minutes to an hour to prevent them from burning and to keep the food moist.
- Create heat zones - Arrange the charcoal to create different heat zones, allowing for both slow cooking and searing.
Explore our curated list of the best beginner-friendly grills, specially selected to provide ease of use, excellent performance, and consistent results.
FAQs
How Do You Grill a Steak?
You grill a steak by placing it on a hot grill and cooking until it turns golden brown. This usually takes around five minutes. Then you turn the steak and grill for another three to five minutes for medium-rare doneness, five to seven minutes for medium doneness, or up to ten minutes for medium-well.
How Do You Grill if You Don't Have a Grill?
You can grill if you don’t have a grill by preheating your oven to 500 degrees. Then put a cast iron grill pan in the oven for 30 minutes to heat up. Remove the pan, add the food, and return it back in the oven. Turn the food halfway through the cooking time.
Do You Turn on All Burners When Grilling?
Yes, you turn on all burners when grilling for the first ten minutes to heat the grill. Then you can lower the heat as needed. You can also do indirect grilling by keeping the burners on one side at high heat and turning the others off.
References:
- https://www.usda.gov/media/blog/2022/10/03/cooking-meat-it-done-yet
- https://www.fda.gov/food/buy-store-serve-safe-food/handling-food-safely