How to Paint Your Grill or Smoker? (Step-By-Step Guide)
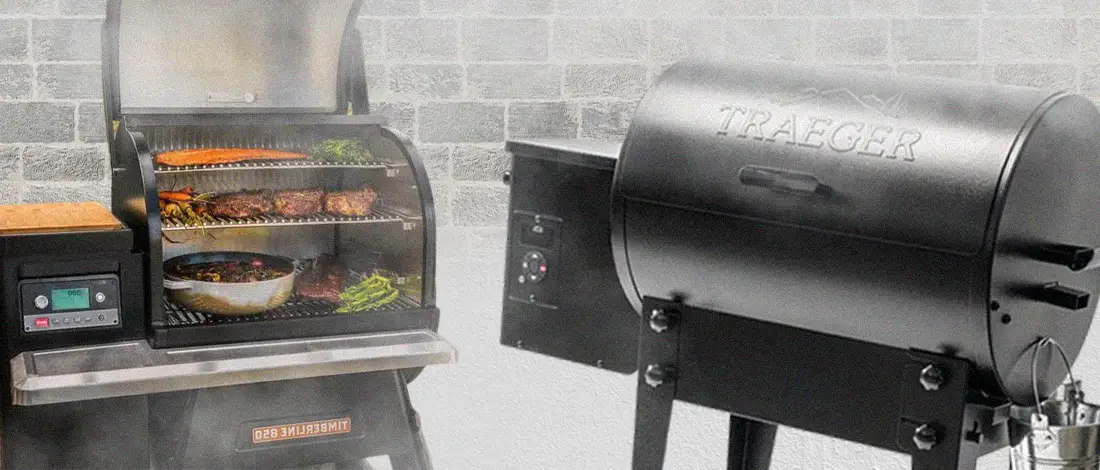
If you’ve been using a grill or a smoker for a while, you’ve probably noticed it started to deteriorate.
This happens due to different weather conditions and frequent wear and tear. But, a new coat of grill paint can have it look as new.
At Carnivore Style, we understand how important it is to keep your gear in top shape for the best cooking results.
I’ve used my fair share of grills over the years I’ve been on a carnivore diet, so I’m no stranger to grill deterioration. But, over the last decade, I’ve also perfected how to paint my BBQ grill and smoker.
Today, I’ll let you in on all my tips and tricks so your barbecue grill or smoker can look brand new again.
Quick Summary
- To paint your grill or smoker prepare the painting area, strip off rust, clean, tap off areas, and apply heat-resistant paint.
- Painting your grill or smoker can restore its look and extend its lifespan.
- It's important to let the paint dry overnight and cure it with high heat before use.
Should You Paint and Clean Your Grill?
You should paint and clean your grill, but the choice between painting or cleaning will depend on its material.
Stainless steel and enamel-coated grills don’t need to be repainted. They are usually done in black paint, and the worst thing that happens to black paint isn’t rust but oxidization. You’ll know your BBQ grill has oxidized if it looks ashy and dull.
If this is the case with your grill, you should clean it with kitchen detergent and warm water.
Don’t use anything too abrasive for cleaning as it can scratch the finish, and you’ll have to repaint instead of just cleaning.
Finally, coat the grill with cooking oil once you're done cleaning, and the grill surface is dry. This seals the surface and makes your grill or smoker look better for longer.
Step-By-Step Guide on Painting a Grill or Smoker

Here’s how you should paint your grill step-by-step.
1. Prepare the Painting Area
I’ve seen plenty of guides where people take apart their whole barbeque grill. I don’t think there’s a need for that. However, you should find a good spot for painting.
Doing it outside or in a well-ventilated area is best so you don’t inhale toxic chemicals and fumes. You want a space with plenty of room to move around the grill so you don’t hurt yourself or the grill you want to restore.
Find a drop cloth and place it on the floor if you’re painting inside. This will make sure the area you’re painting doesn’t get a lot of oversprays.
You also want a place where you can place all the paint tools, such as the wire brush, gloves, paint, metal sandpaper, and more.
2. Stripping
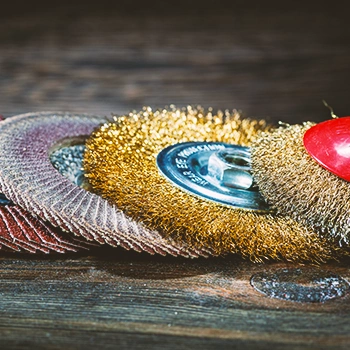
Next, it's time to strip the smoker. You can use a wire brush, steel wool, or metal sandpaper to remove as much rust as possible from the grill.
Grills are usually made of cast aluminum that doesn't rust, but smokers have a steel body and tend to rust a lot [1] [2].
If you leave rust on the smoker's body, it'll eat through the metal, even if you paint it, so make sure to get down to the bare metal.
Apart from the rust, you want to smooth any rough areas where paint started to peel off. Another thing you can do here is knock off charred food particles on the grill.
3. Cleaning
Once you're done stripping the entire grill so there's no more rust left, it's time for a good cleaning. This step often gets overlooked, but it's critical.
Paint won't last if you put it on a dirty, greasy, rusty BBQ grill or smoker.
“Be aggressive going after the grease. You don’t want any grease left on the surface when you do paint preparation. Sand with a rough sand to get rid of any rough spots on the unit.”
- Feeley Bird YouTube Channel
To clean the grill, you can use a degreaser, such as an oven cleaner. Spray it on, and let it sit between 5 and 10 minutes. Then use a rag and remove as much of the grease and food particles from the grill and grill grate.
Once you're done, you should use another rag to remove all the degreaser and make sure your grill is clean and dry.
4. Taping Off
This is the final step before you apply barbecue paint. Tape off the grates, handles, and all areas you don’t want to paint. If you plan to apply any logos, tape off the areas you’ll place them on.
5. Painting
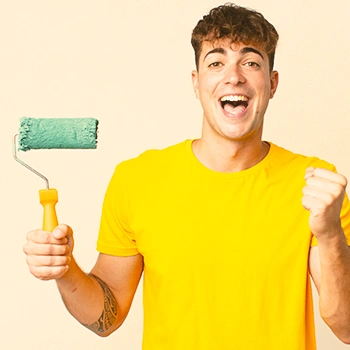
Finally, it’s time to paint your old rusty grill or smoker (that’s hopefully not so rusty anymore).
Use high heat-resistant paint. When using high-heat spray paint, you should hold the can about 6 to 8 inches from the grill’s surface. Paint in a swiping motion from one side to the other.
The first fresh coat of paint should be thin, so don’t worry if some areas look off. Wait for a couple of minutes, then apply several light coats until you get the desired result.
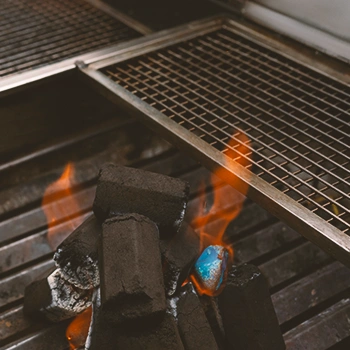
Let the paint dry overnight. Finally, fire it up to a high temperature to ensure the paint is cured and good for smoking.
Note: You can do powder coating on the smoker, but not the grill, as most powder coats can’t withstand temperatures higher than 200 degrees [3].
FAQs
Can You Paint the Outside of a Grill?
Yes, you can paint the outside of the grill. You can apply paint to the entire body on the outside, but you shouldn’t paint the inside or any surfaces that are in direct contact with flames.
Can I Spray Paint My Grill?
Yes, you can spray paint your grill. Make sure to use paint that is resistant to heat.
At Carnivore Style, we want to help you protect your investment and keep your equipment cooking like new. Check out our other maintenance guides and tips for your carnivore kitchen gear.
References:
- https://news.stanford.edu/pr/00/aluminum511.html
- https://www.reliance-foundry.com/blog/does-stainless-steel-rust
- https://www.crestcoating.com/cci-blog/is-powder-coating-heat-resistant/