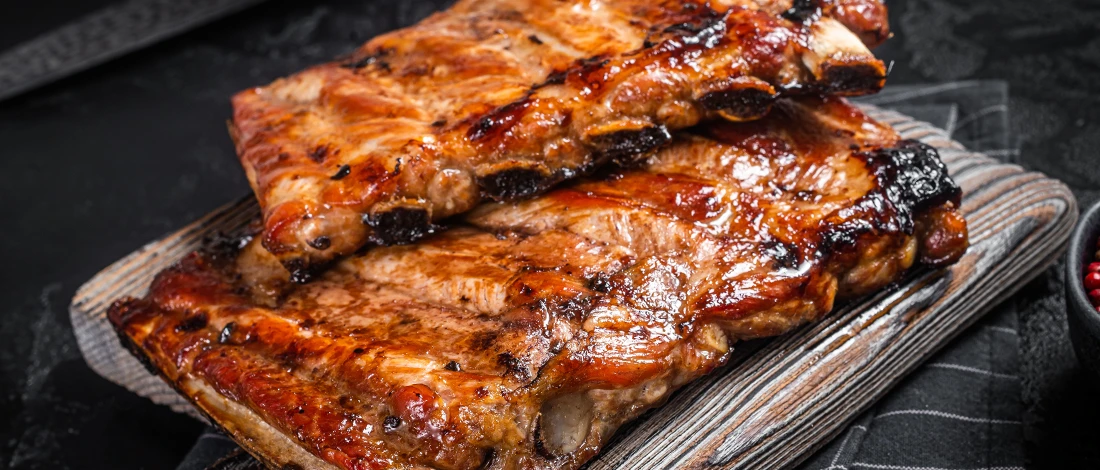
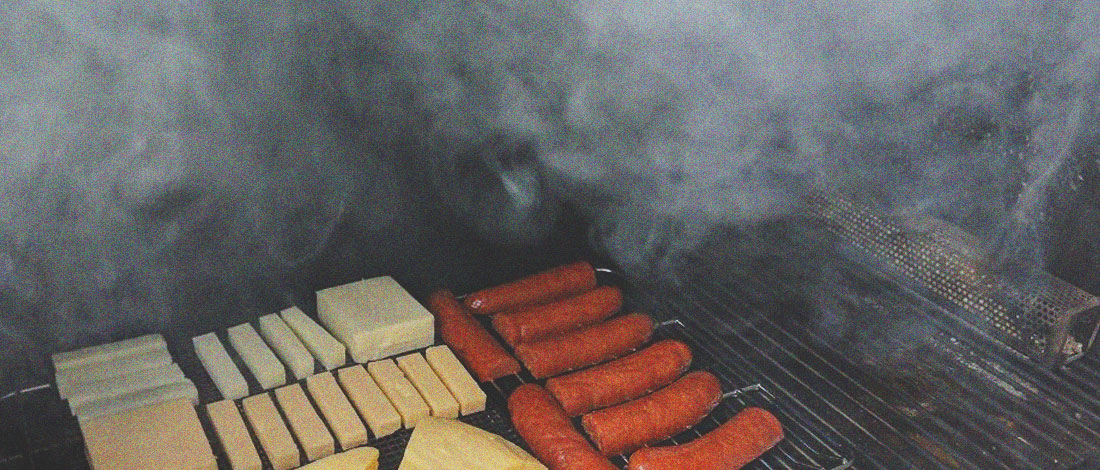
I’m an avid user of charcoal grills. For me, nothing beats the taste of meat infused with charcoal.
I do, however, have qualms when it comes to flexibility. As much as I enjoy my grill, I equally enjoy smoking meat.
That’s why, when I found out that you could turn charcoal grills into smokers, I was like a kid on Christmas day.
Not everyone can afford to buy both units, so this way, you do get the best of both worlds.
Quick Summary
- Smoking on a charcoal grill involves preparing the grill, setting up a two-zone fire, and maintaining low temperatures for slow cooking.
- The process includes using a charcoal chimney, placing an aluminum water pan, adding wood chips, and adjusting the air vents to control temperature.
- A 2025 study published in the National Library of Medicine in September 2015, found there are health risks after exposure to barbecue fumes from charcoal grills, and these fumes, particularly through dermal contact, are a significant but largely neglected source of outdoor health hazards to the general population [1].
- Regular monitoring and adjustments are needed to maintain the desired temperature range of 225-250°F, with the cooking time varying depending on the type of meat.
Smokers Vs. Charcoal Grills
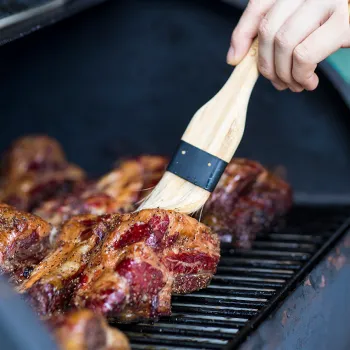
As you may know, charcoal grills are designed to cook hot and fast.
The charcoal is placed under the food, leaving the grill as an open cooking space.
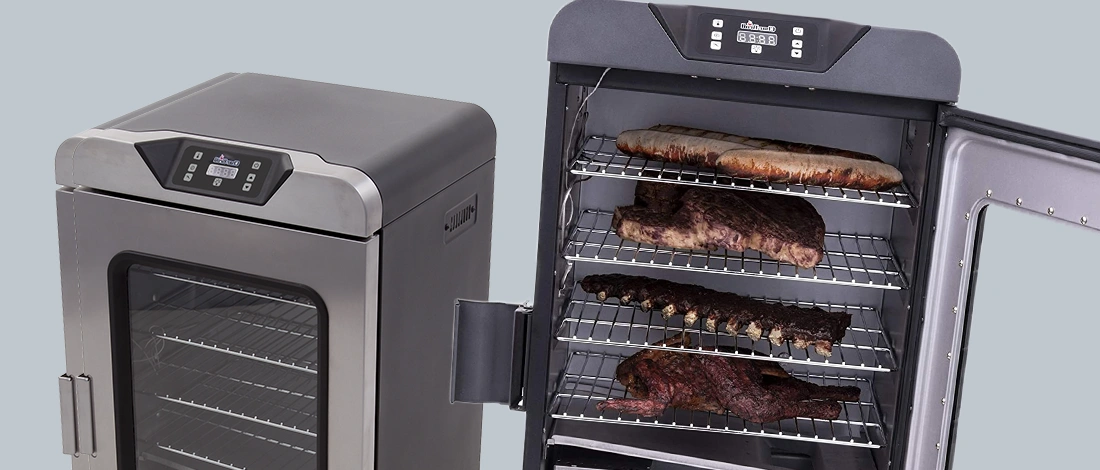
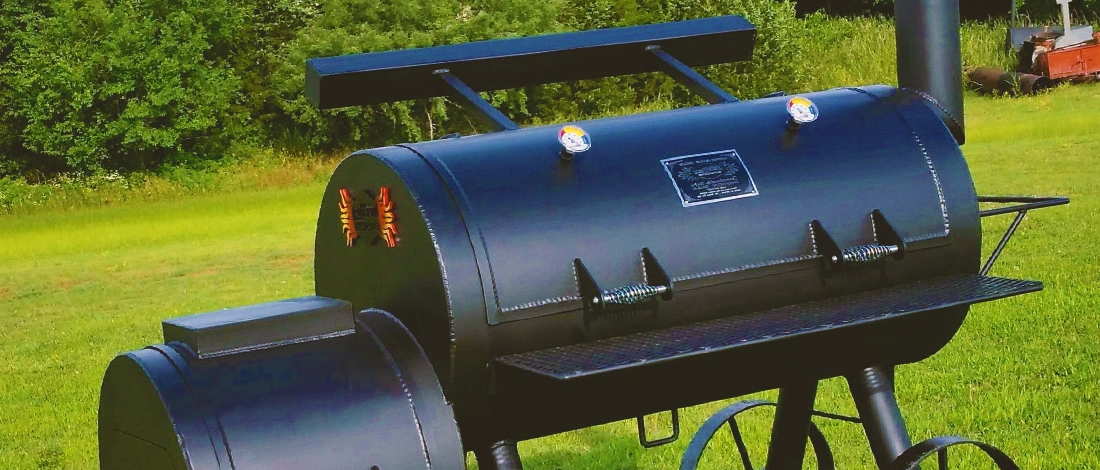
On the other hand, a smoker is designed to cook and smoke your food at temperatures around 225°F - 250°F.
The fire is kept in a separate space, and the smoker is enclosed to ensure no smoke escapes.
“Eating barbecued food is a sure way to boost the mood.”
- San Marcos BBQ
Thankfully, if you find a way to separate the fire from the food, you can also reach a low cooking temperature that allows you to smoke on a grill.
Related: Smoker vs Grill
4 Steps to Turning Your Charcoal Grill into a Smoker
To begin with, you need to get your charcoal grill ready. To do this, you’ll need a fuel source such as charcoal or hardwood and a way to light said fuel.
Since you will be using the fuel outside of the grill, you’ll need a charcoal chimney.
Step 1: Setting Up the Fire
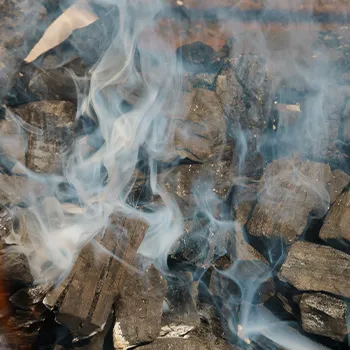
As I mentioned earlier, we need to create a low and even heat.
To do this, we will have to make a two-zone indirect fire, which essentially means setting your coals to one side of the grill grate and the meat to another.
Start by filling a chimney starter with ¾ of charcoal. Add lit coals (covered with a layer of gray ash) onto one side of the grill.
You can also use the charcoal snake method if you don’t have a chimney starter [2].
Another solution is to use lighter fluid.
Step 2: Setting Up the Grill
On the side opposite the lit coals, place an aluminum pan, filling it halfway with water.
The water pan is important since not only does it catch any oil falling off the charcoal grate, but it also helps keep a consistent temperature.
As the water evaporates in the two-zone fire, it also keeps the meat moist.
Ensure there is no charcoal underneath this pan since we aren’t looking to boil the water.
Once the water pan and coals are in place, you can add wood chips or wood chunks until they start to smoke.
Place the cooking grate on the grill, with the meat over the drip pan.
You’ll need to place a meat thermometer next to the meat and cover the grill with a lid.
When you smoke meat, the top vent should be placed directly above the food.
Step 3: Maintaining Low Temperatures
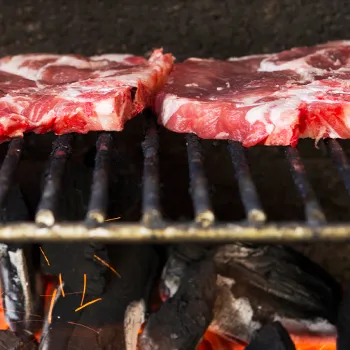
Even when smoking on a charcoal grill, you have to do it low and slow.
According to the USDA, the recommended smoking temperature is between 225 and 300 °F [3].
A kettle grill gets hot due to the way the air inside circulates; therefore, you’ll need a restricted airflow for your hot coals.
Cover the bottom air vent completely to ensure the temperature is low enough for indirect cooking and smoking.
The top air vent should be about a third of the way open.
The temperature will drop pretty rapidly initially, and then it will decline slowly towards the desirable 225-250°F range.
The hard thing about the smoking process on a real barbecue is that it takes a lot of babysitting. The temperature fluctuates, and the cooking time varies.
Since you need the coals to burn slowly, you should check them every 15-20 minutes.
Let in more air via the vent if the temperature drops too much, and close it if it gets too high.
When the temperature gets too low, you may need to add more coals or a few chunks of wood onto your fire.
Ensure you add more charcoal quickly, as you’ll want to keep the lid closed as much as possible.
Step 4: Knowing When the Meat is Done
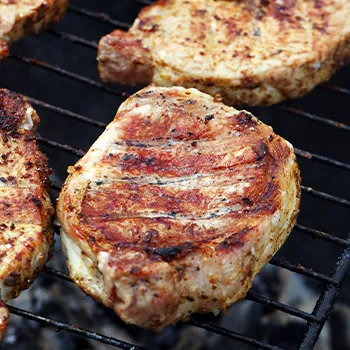
You’ll know when the meat is done depending on its internal temperature. This could vary for different cuts.
Here are a few popular types of meat: [4]
- Baby back ribs: These usually take 4-5 hours to cook. You’ll know they’re ready when the rack bends slightly as you pick it up.
- Pulled pork: The ideal temperature for pork is 205°F.
- Pork butt: When the pork butt reaches 185-195°F, it is considered done. This usually takes 12-16 hours.
- Beef brisket: This is done at 190-195°F for 14-18 hours.
Read More: How to Smoke Ribs on Charcoal Grill
References:
- https://pubmed.ncbi.nlm.nih.gov/26259039/
- https://perthbbqschool.com/2020/02/19/how-to-the-snake-method/
- https://www.fsis.usda.gov/food-safety/safe-food-handling-and-preparation/food-safety-basics/smoking-meat-and-poultry
- https://www.thespruceeats.com/smoking-meat-low-and-slow-331486


