Top 8 Best Grill Cleaners (2026 Upd.) Deep Clean Like a Pro
At Carnivore Style, we’ve been barbecuing for over a decade, and we’ve tried a fair share of the best grill cleaners during this period.
After using so many grill cleaning products to find the best grill cleaner, we’ve rounded up our top 8 picks, providing you with what we liked and didn’t like and our ultimate grill cleaner winner.
The Best Grill Cleaners
- Best Overall Grill Cleaner: Easy-Off Professional Oven & Grill Cleaner
- Cheapest Grill Cleaner: Kingsford Heavy Duty Spray-On Grill Cleaner
- Fast-Acting Grill Cleaner Formula: Easy-Off Professional Oven & Grill Cleaner
- Best Grill Cleaner for Stainless Steel: Weiman Stainless Steel Cleaner and Polish
- Best Heavy-Duty Grill Cleaner: Carbona 320 Barbeque Cleaner
- Best Cleaner for Grill Grates: Parker & Bailey BBQ Grill and Surface Cleaner
- Best Biodegradable & Food Safe Grill Cleaner: Traeger Grills BAC403 Cleaner
- Best Scented Grill Cleaner: Absolutely Clean Grill Cleaning Spray
- Best Grill Cleaner for Deep Stains: Goo Gone Grill and Grate Cleaner
- Best Grill Cleaner for Burnt-on Grease: Kingsford Heavy Duty Grill Cleaner
Our Top 8 Best Grill Cleaners
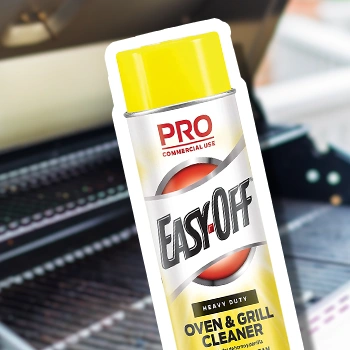
1 - Easy-Off Professional Oven & Grill Cleaner (Best Overall & Fast-Acting Formula)
- Fast-acting formula
- Works on most steel cooking surfaces
- Works well for spot treatments
- Removes grease buildup and tough stains
- Strong chemical smell
Who is it for?
Who is it for?
- Quick, effective cleaning
Who is it not for?
- Sensitive to strong smells
Final Verdict
Highly effective for tough stains, ideal for deep cleaning with minimal effort.
Our number one spot is Easy-Off Professional Cleaner, a grill cleaner for deep cleaning baked-on food, grease, and stains from grills, ovens, broilers, pans, and other stainless steel appliances.
It is a fast-dissolving spray cleaner designed for spot cleaning.
We found it straightforward; we sprayed the burnt-on grease, let it sit for five minutes, and wiped it clean with a microfiber cloth.
You may have to scrub with a grill brush to remove more stubborn or old stains.
2 - Carbona 320 Barbeque Cleaner (Best Heavy-Duty Formula)

- Cleans both grill grates and oven grates
- Works great on enamel and stainless steel surfaces
- Comes with a zip-up bag to soak the grates
- Can only be used for grates
Who is it for?
Who is it for?
- Heavy-duty cleaning of grates and ovens
Who is it not for?
- Quick cleaning needs
Final Verdict
Perfect for heavy-duty cleaning with biodegradable formula, requires overnight soaking.
Next on our list is the Carbona 320 Barbeque Cleaner, a BBQ grill cleaner designed to work overnight on both your oven racks and grills.
The kit comes with a zip-up plastic bag, a pair of disposable gloves, and a bottle of the 2-in-1 cleaning solution.
Grab your wire grill brush, remove any baked-on food and burnt barbecue sauce, and pop the grill grate into the bag. Pour in the grill cleaner, give it a good wiggle around, and leave it to soak overnight.
With a quick rinse, our grill grates were shiny and new. The heavy-duty cleaner removes stubborn grease from our grill easily.
And, since it’s biodegradable, we could pour the used solution down the sink.
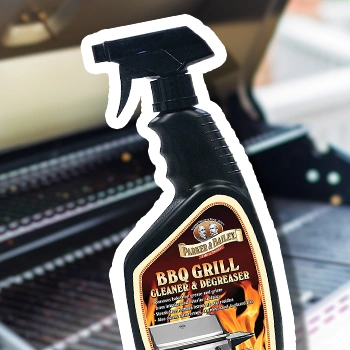
3 - Parker & Bailey BBQ Grill and Surface Cleaner (Best for Grill Grates)
- Can be used on several different surfaces
- Doesn’t leave behind any streaks
- No strong smells
- Can take some effort to clean burnt-on messes
Who is it for?
Who is it for?
- Versatile cleaning on multiple surfaces
Who is it not for?
- Minimal effort cleaning
Final Verdict
Versatile and streak-free, ideal for multiple surfaces, needs effort for burnt-on messes.
Parker & Bailey Cleaner is a multisurface grill cleaner designed to dissolve caked-on grease and baked-on grime from your grill's interior and exterior.
This heavy-duty cleaner comes in a spray bottle and can be used on surfaces such as countertops, drip pans, pots, microwaves, etc.
Spray the dirty grill, leave for a few minutes, then wipe off with a wet cloth. What we enjoyed most about this cleaner was that it didn’t leave any streaky stains on the cooking grates or have no toxic smells.
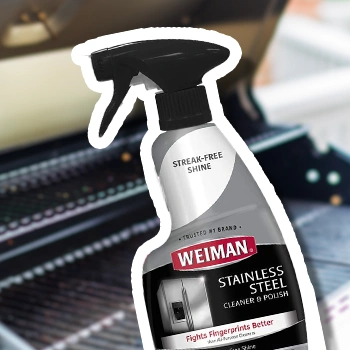
4 - Weiman Stainless Steel Cleaner and Polish (Best for Stainless Steel)
- Doesn’t leave any streaking or smudging
- Can be used on both indoor grills and outdoor grills
- Non-toxic chemicals
- Can be harder to remove baked-on grease stains or caked-on food
Who is it for?
Who is it for?
- Stainless steel appliance owners
Who is it not for?
- Non-stainless steel surfaces
Final Verdict
Great for stainless steel with non-toxic ingredients, may need extra effort for tough stains.
Weiman’s grill cleaner is available as a spray and stainless steel wipes. It is designed for any stainless steel surface, such as grill surfaces, fridges, microwaves, dryers, dishwashers, and more.
This stainless steel cleaner polish doesn’t contain harmful chemicals since it is also designed for kitchen worktops and appliances.
After we used it, this cleaner did leave a nice finish, free of any streaks or grease.
When using it as a grill grate cleaner, you may need to add reasonable effort to remove all the food remnants.
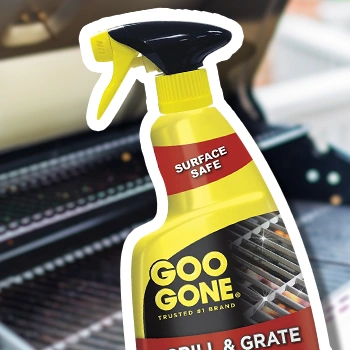
5 - Goo Gone Grill and Grate Cleaner (Best for Deep Stains)
- Can remove deep stains with minimal effort
- Spray dispenser makes it easy to reach corners
- Biodegradable formula
- Can be thin, so you need to use more of it
Who is it for?
Who is it for?
- Deep stain removal
Who is it not for?
- Light cleaning tasks
Final Verdict
Excellent for deep stains with minimal effort, thin formula may require more usage.
Goo Gone Cleaner is an ultra-strength BBQ grill cleaner designed to lift heavy grease and food remnants from your gas or charcoal grill.
It comes in spray foam form, using a biodegradable formula of citrus oils. We found this one of the best grill cleaner options, removing most dirt from our grill with minimal effort.
We also liked that the spray dispenser made reaching stubborn corners of the grill easy. However, the product can be thin, so you use more than usual.
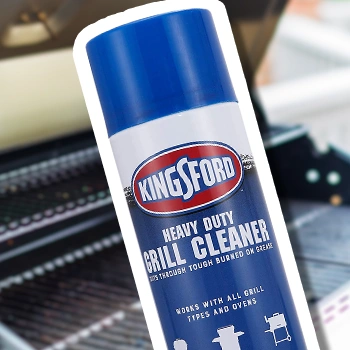
6 - Kingsford Heavy Duty Spray-On Grill Cleaner (Cheapest & Best for Burnt-on Grease)
- Works to remove baked-on stains and grease
- Formula is thick and easy to use
- Works in 30 minutes
- Strong fumes
Who is it for?
Who is it for?
- Cost-effective tough stain cleaning
Who is it not for?
- Quick results needed
Final Verdict
Cost-effective and easy for tough stains, may take longer for very dirty grills.
Kingsford Grill Cleaner was designed to remove tough grease and stubborn food stains from stainless steel surfaces such as grills and broilers.
We found this spray cleaner very straightforward to use; we had to scrub off the remaining food with a grill brush and spray our grill grate with the cleaner.
The company claims that the product takes 30 minutes to work; however, it may take longer for the formula to work if your grill is especially dirty.
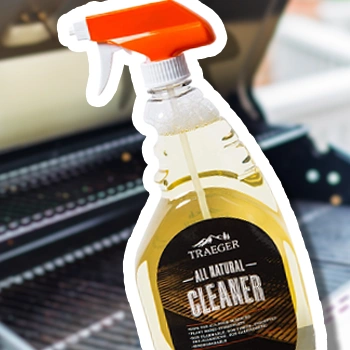
7 - Traeger Grills BAC403 All Natural Cleaner (Best Biodegradable & Food Safe)
- Biodegradable and food-safe
- Can be used on multiple surfaces
- Removes buildup that has been sitting for a long time
- Can take some scrubbing to remove stubborn stains
Who is it for?
Who is it for?
- Eco-conscious versatile cleaner users
Who is it not for?
- Quick, light cleaning
Final Verdict
Eco-friendly and versatile, suitable for various surfaces, may need scrubbing for tough stains.
Traeger Grills have produced this BAC403 non-toxic cleaner to cut through even the toughest grease. What we loved about this product was that it is biodegradable and 100% food-safe. This grill cleaner is good for removing buildup that has been sitting there for a long time, and it can be used on stoves, windows, countertops, gas grills, charcoal grills, and pellet grills.
It may, however, take a lot of work and product to get you shiny and new grill surfaces, so you may need to use a grill brush with stainless steel bristles.
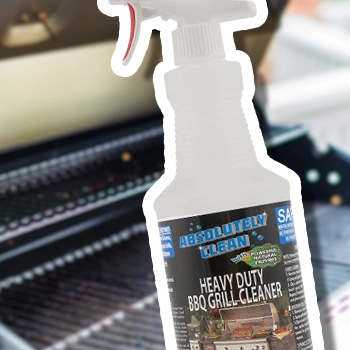
8 - Absolutely Clean Grill Cleaning Spray (Best Scented)
- Has a pleasant smell
- Relatively easy to use
- Formula uses natural enzymes
- Can be harder to remove burnt-on food
Who is it for?
Who is it for?
- Regular cleaning with a pleasant scent
Who is it not for?
- Heavily caked-on messes
Final Verdict
Pleasant smelling and easy to use, ideal for regular cleaning, less effective on burnt-on food.
Absolutely Clean Grill Spray can be used on various surfaces, such as the interior and exterior of grills, drip pans, grates, and outdoor BBQs. While it works to remove grease, food, and stains from your grates, it also has a pleasant scent that makes the surfaces not only look better but smell better too.
The company claims this grill cleaner works in as little as 1-2 minutes. However, you may have to let the outdoor grill grates sit for longer. We had a slight problem removing caked-on grease and food from our grills with this grill cleaner.
Buyer’s Guide

According to Carnivore Style's experts, here are a few things to look out for when shopping for the best grill cleaners:
- Ingredients: Since you’ll use the cleaner on your grill, you’ll want to ensure it is food-safe. Look out for biodegradable products.
- Method of application: Grill cleaners in spray bottles or foaming nozzles make applying the product easier. Ones that reduce soaking in a bag overnight may be better for tougher grease.
- Strength: Heavy-duty cleaners work best for stubborn buildup; however, they will have more chemicals and may be pricer. Weaker grill cleaners are better for regular maintenance [1].
Related Articles:
FAQs
Should I Clean My Grill Hot or Cold?
Whether you clean on a cold or hot grill depends on which of the best grill cleaner options you use. Most grill cleaners have a hot steam feature, which helps to break up cooked-on food.
What Grill Brush Should I Use for My Grill?
You can use nylon bristles for porcelain and cast iron grates since they suit sensitive surfaces. Consider using a metal-wired grill brush if your outdoor grill has a stainless steel grill grate.
Our Best Grill Cleaner Winner
All grill cleaners mentioned here today are worthy competitors of that title; however, our winner today is the Easy-Off Professional Oven & Grill Cleaner for its ease of use, ability to get your grill grates clean with minimal effort, and fast-acting formula.
Among all the grill cleaners we tested, Easy-Off Professional is the best grill cleaner that thoroughly cleans your grill.
You can say goodbye to grease buildup and tough stains in minutes.
Easy-Off Professional Oven & Grill Cleaner (Best Overall & Fast-Acting Formula)
Our #1 Recommendation
Rated With Carnivore Style's Scoring System
- Fast-acting formula
- Works on most steel cooking surfaces
- Works well for spot treatments
- Removes grease buildup and tough stains
- Strong chemical smell