How To Smoke a Turkey In An Electric Smoker (In 3 Steps)
A well-cooked turkey will be the piece de resistance of your dinner table.
But, cooking a turkey will occupy your oven all day long, which means you won't be able to cook anything else.
This is why you need electric smokers. These smokers will not only ensure your oven is available for preparing other meals, but they will also give your turkey a rich, smoky flavor.
As a carnivore diet practitioner, I've spent years perfecting the art of smoking turkey in an electric smoker—testing techniques, troubleshooting common mistakes, and refining recipes to maximize flavor and texture. I'll admit, it wasn't smooth sailing at first. Today, I'm bringing you my best turkey recipe with detailed instructions on how to smoke turkey breast, so you won't make the same mistakes I did.
Quick Summary
- Smoking a turkey in an electric smoker involves selecting, thawing, brining, drying, seasoning, and smoking at 225°F for 40 minutes per pound.
- Techniques include soaking wood chips, spatchcocking, and injecting flavors like maple syrup, lemon juice, and cognac.
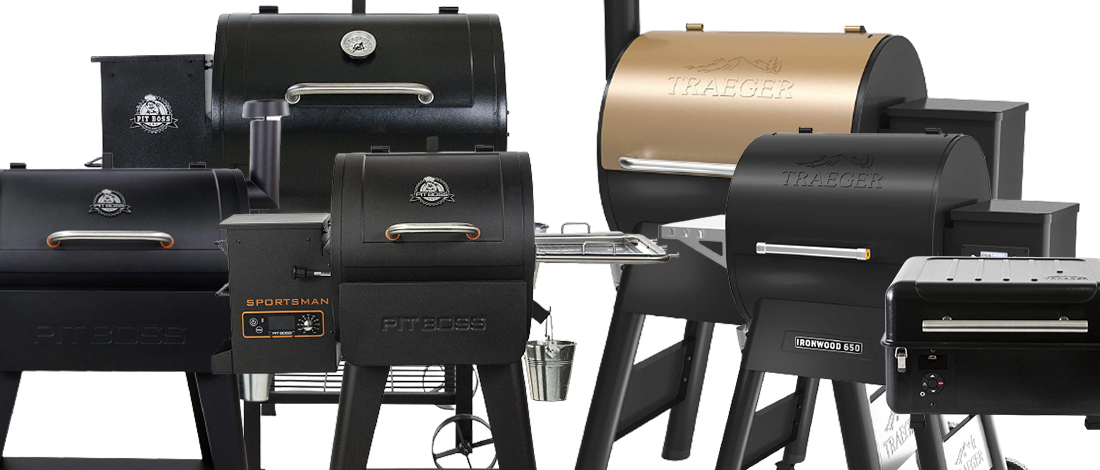
- According to a 2023 report by Statista, electric grills are the least popular type of grills in the US (10%), with gas grills being the most popular (61%), and charcoal grills the second most popular (49%) [1].
- Careful preparation and slow smoking on low heat, with creativity in rubs and injections, lead to the best results.
Smoking a Turkey in an Electric Smoker
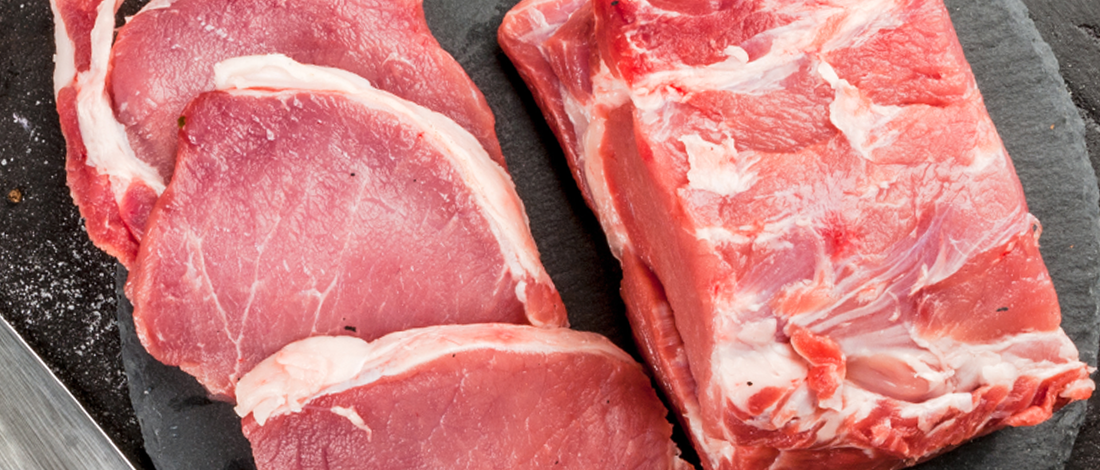
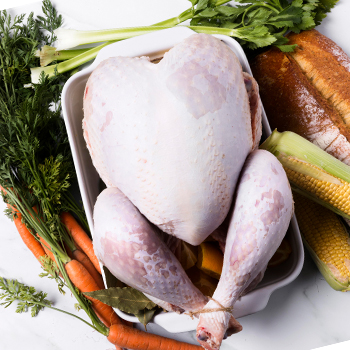
Before you start smoking turkey, there are several things you should do, starting with picking a turkey.
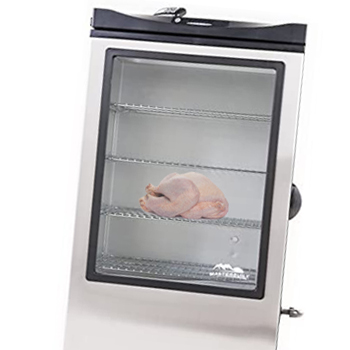
On my first smoked turkey try, I bought a bird that was too big. After some maneuvering, I managed to fit it in. But because it was too close to the heat, I had to abandon the smoking plan and put it in the oven halfway through. Don’t make the same mistake; choose a turkey that’ll fit into your smoker.
Most electric smokers have a cooking chamber that accommodates turkeys between 12 to 16 pounds comfortably. Check your smoker's dimensions and guidelines before purchasing your bird. A turkey that fits with at least a few inches of clearance on all sides will smoke more evenly and allow for proper air circulation, resulting in better flavor and more consistent cooking throughout.
My advice is to choose a bird that’s 12 to 14 pounds. I don’t recommend going over 15 pounds. When choosing your turkey, keep in mind the size of your electric smoker.
Pro tip: Choose a turkey without added ingredients. You can always add the ingredients and flavors you like later on.
1. Get Your Turkey Ready

Once you’ve made your choice, it’s time to prepare the turkey for smoking. There are several steps you need to take before putting the bird into the smoker.
Step 1: Thaw It
Start by thawing the frozen turkey. You should thoroughly defrost it. Otherwise, you’ll end up with unevenly cooked spots.
To unfreeze it, you can put a turkey in a large pan and put it in the fridge. Expect it’ll need 2 to 3 days to thaw completely.
Read More: Can You Smoke Completely Frozen Meat?
Step 2: Clean It
Once the whole turkey is thawed, it’s time to clean it. You should completely remove the neck, gizzard, and other parts that are inside the turkey.
You’ll have to reach inside and get out the neck, which should be loose once the bird is thawed.
To find the gizzard, check inside the main or neck cavities.
Once everything is out, give the bird a good rinse with cold water.
Step 3: Brine It
Before you start smoking a turkey, it’s important to brine it. According to a 1982 study on Science Direct, brining will improve moisture absorption when the meat is cooked for extended periods, and it makes the meat more tender [2].
“You can add all sorts of other spices into your brine, but all you really need to know is one cup of kosher salt or granulated salt to one gallon of water, and your brine is going to be perfect.”
- SmokeTrailsBBQ, YouTube Channel
I don’t suggest buying a pre-brined turkey because you never know how long it’s been sitting on the shelf. The meat may be over-salted by the time you buy it.
Instead, brine it yourself. I keep the brine simple and submerge the bird in water with added kosher salt.
You can use a cooler for this and let the bird sit for around 12 hours.
Step 4: Rinse and Dry It
Once you remove the turkey from the brine, it’s time to rinse it with cold water. Make sure to rinse both the surface and the cavities.
Once you’re done rinsing, use paper towels to pat dry inside and outside.
Finally, let it air dry overnight.
Step 5: Season It
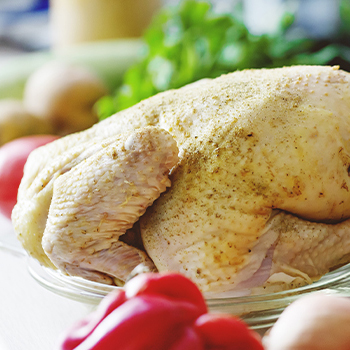
To season the whole turkey, you’ll need two kinds of mixes:
- Dry rub for the turkey cavity
- Wet rub for the outside
You should use different rubs because wet rub will stick to the turkey outside much better than dry one.
Also, a wet rub helps the turkey retain moisture when cooking for a long time.
Here’s how I create a wet mix:
- Mix in vegetable oil with seasonings and sea salt to create a thick paste, and apply it to the bird’s outside. For the seasonings, you can use a mix of spices and herbs.
- To create the dry rub, you can be as creative as you want. I like to use brown sugar, smoked paprika, black pepper, garlic powder, and onion powder.
- If you like more spicy flavors, add cayenne pepper.
2. Pick the Best Wood
A key to getting delicious smoky flavors is choosing the right wood.
I recommend going for cherrywood when cooking turkey in an electric smoker.
Other good options you can use include:
- Maple
- Plum
- Cedar
- Alder
- Apple
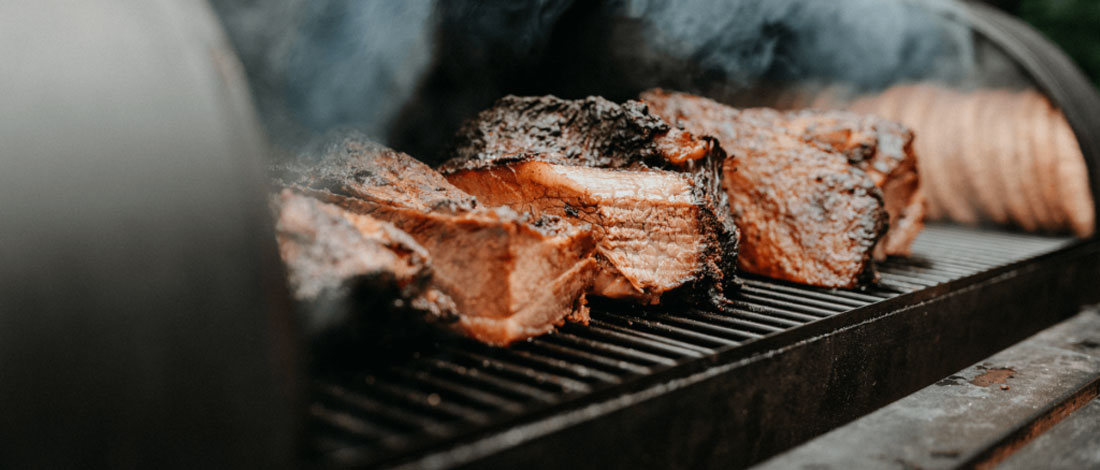
3. Smoking Time
Now that your bird is ready, it’s time to prepare smoked turkey.
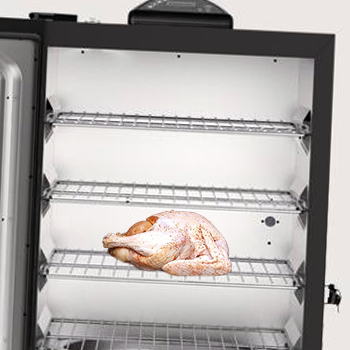
Start by preheating the electric smoker to 225 degrees Fahrenheit and wait until it starts producing smoke.
While you’re waiting for the electric smoker to heat, oil the cooking grate to make sure the turkey won’t stick to it.
Once the electric smoker reaches the desired internal temperature, put the turkey in. In this easy recipe, I like to use vegetable oil or melted butter.
This helps keep the turkey moist because it has to cook for a long time.
Use a meat thermometer to check the internal temperature of the turkey breast. Once the internal temp reaches 160 degrees Fahrenheit, it’s cooked.
Pro tip: Smoke for about 40 minutes for each pound.
When it’s time to get the turkey out, move it onto baking paper, cover it with tin foil, and let it rest for about half an hour before serving it.
And that’s it; that’s my smoked turkey recipe in a few simple steps.
Related Article: How to Control Temperature in a Smoker
3 Smoked Turkey Recipe Tips
Here are a couple of free BBQ tips on how to smoke a turkey:
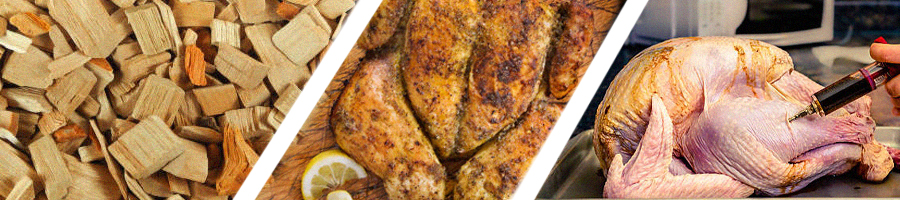
1. Soak Wood Chips
You can use both wet and dry wood chips in an electric smoker. However, if you want to smoke low and slow, use wet chips.
Smoke the wood chips for about half an hour to ensure they’ll have less intense smoke and last longer.
2. Spatchcock Turkey
You’ll find that some turkey recipes call for spatchcocking the turkey. In this process, you gently separate the spine so that the turkey can lay flat.
By spatchcocking, the meat will be able to absorb more smoke, it’ll have extra flavor, and it’ll cook evenly because once you remove the spine, it’ll have more surface area.
Also, the cooking time will be faster, so make sure to use the internal temperature probe to check the temp regularly.
3. Inject Turkey
You can also choose to inject a bird. Put it on a roasting pan, fill up a syringe with maple syrup, lemon juice, and cognac, and inject it into the turkey’s body cavity for a richer flavor.
Note: This is an alternative to brining. However, if you want, you can do both. Just make sure not to add seasoned salt when injecting smoked turkey, regardless of your desired internal temperature.
Recommended Article: Smoking a Turkey on a Pellet Grill
References:
- https://www.statista.com/statistics/271755/us-grill-ownership-by-type-of-grill/
- https://www.sciencedirect.com/science/article/pii/S0032579119421111?via%3Dihub